Home
Project begins: February 2010
The perimeter masonry phase of the Tuscan Veranda Project started out as some brick and paving stone borders around the north side of the house so that I could start planting stuff. Eventually I had intended for the border to morph into a larger paving stone patio but I have so many project priorities that the patio phase isn't even on the construction schedule yet.
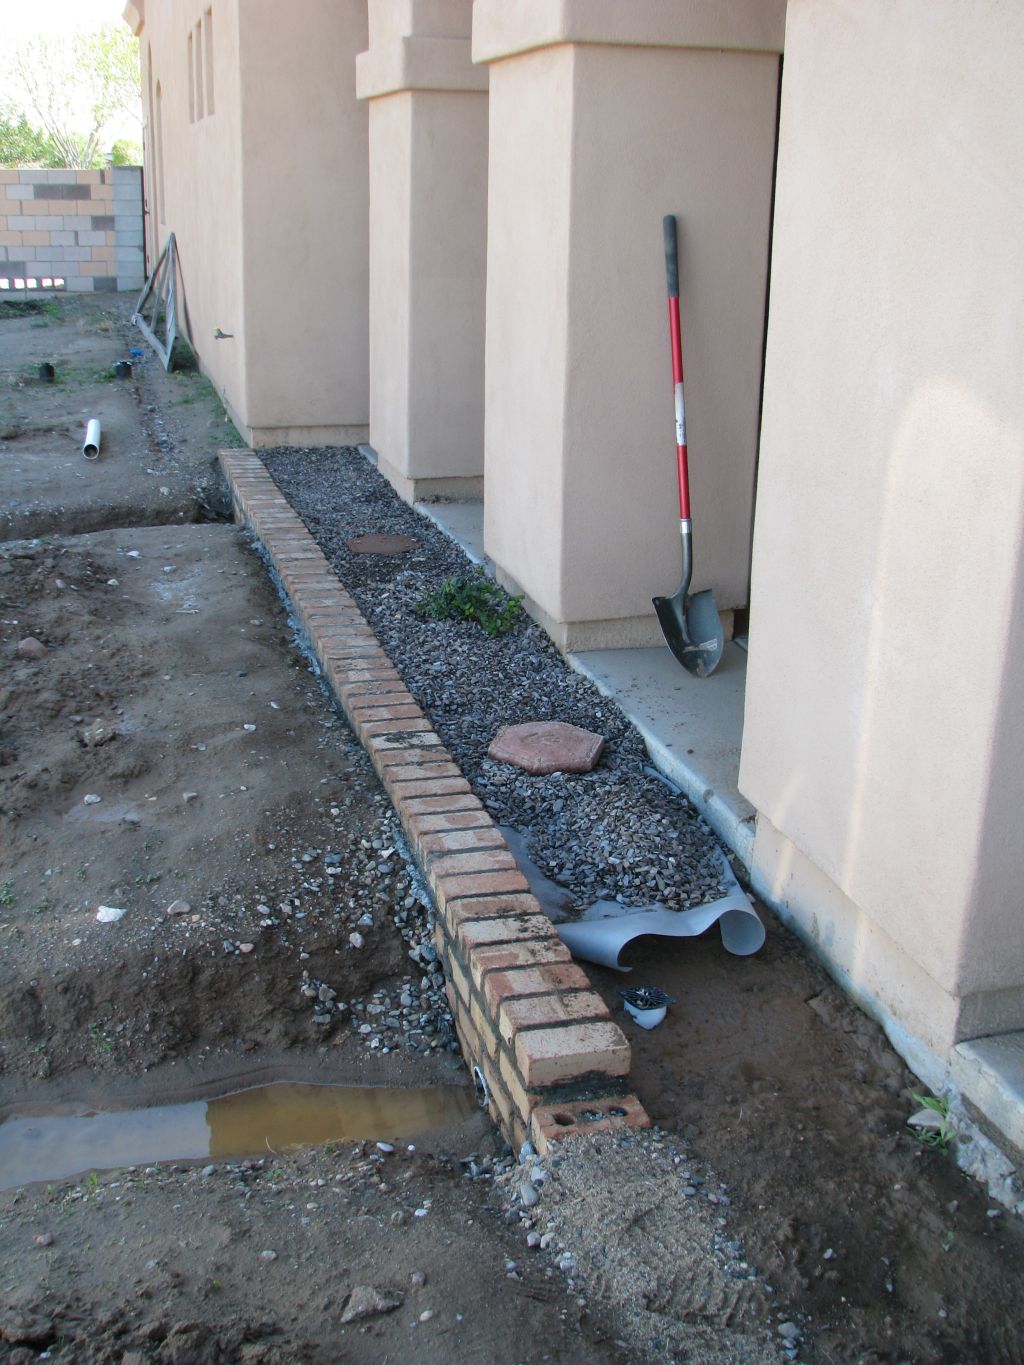
The masonry project started in February 2010 when I started the paving stone border around the north side of the villa. Because the roof had two drain spouts in this area, I also had to build a couple of concrete drain dams.
Flash forward three and a half years and you can see how the creeping fig that I planted in this spot has taken over.

Back to February 2010, the north side is completed and back-filled with gravel. One mistake that I made here was believing that landscape fabric would deter weed growth. After more than three years of constantly pulling weeds from this section, I have concluded that the landscape fabric is completely useless for that purpose. The next photo also shows one of the trellises that I built for the star jasmine to climb.
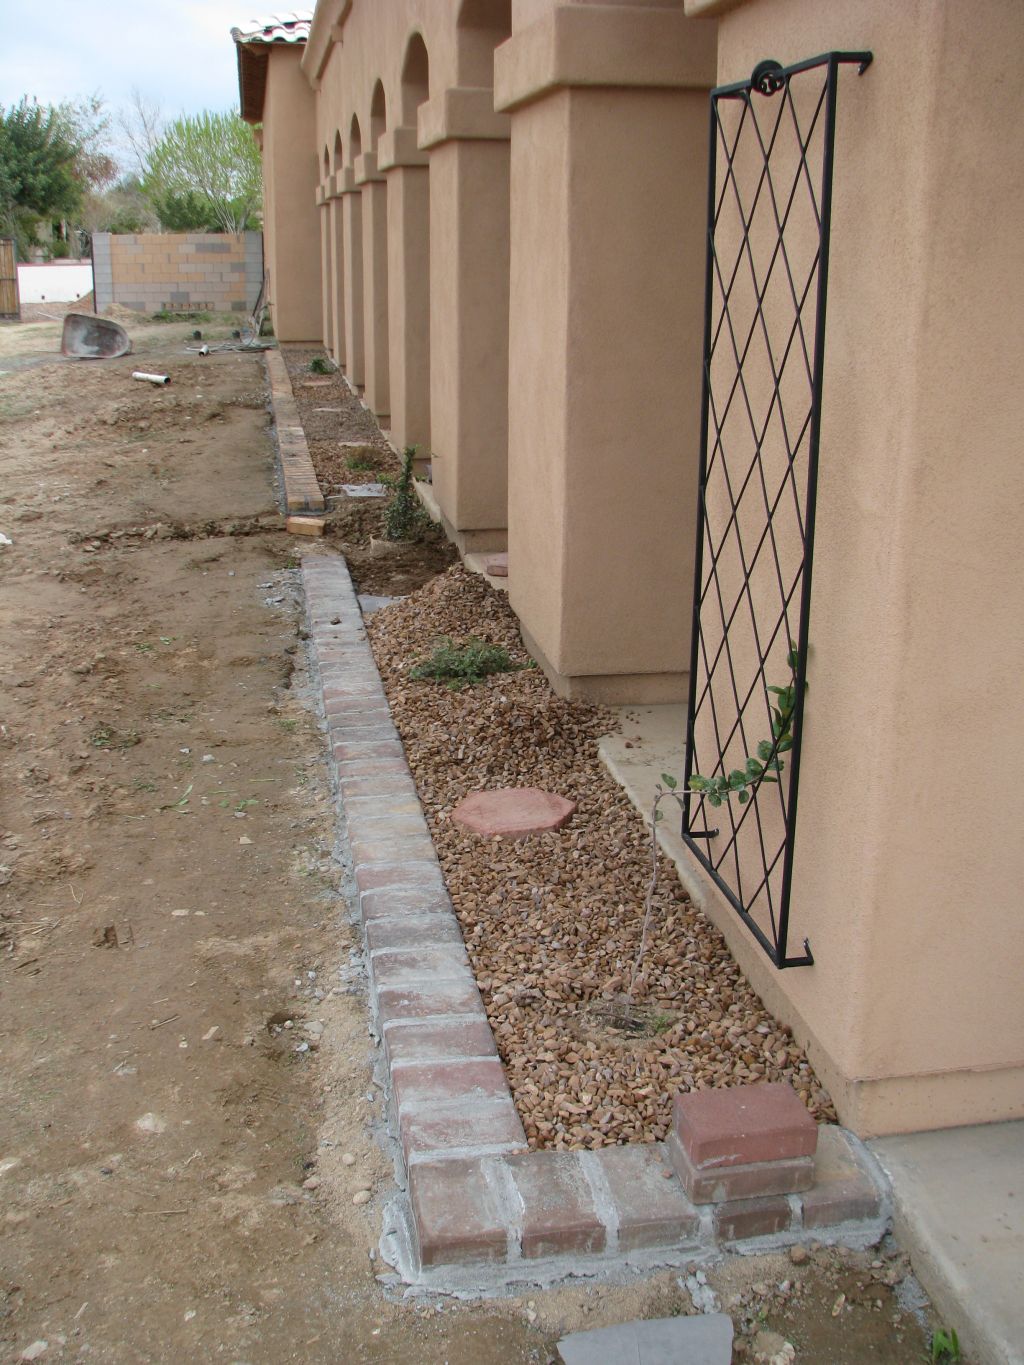
The next photo shows the west-facing part of the project, also featured in the Tuscan Veranda: Grapes project, as well as another trellis. One note about this picture: the plant next to the trellis is a Lady Banskia Rose. What I didn't realize at the time was that at full height, it can grow 15-20 feet tall. After the second year, it was pushing 15 feet and had completely taken over this area. Unfortunately, I was forced to uproot it and replace it with something less aggressive.
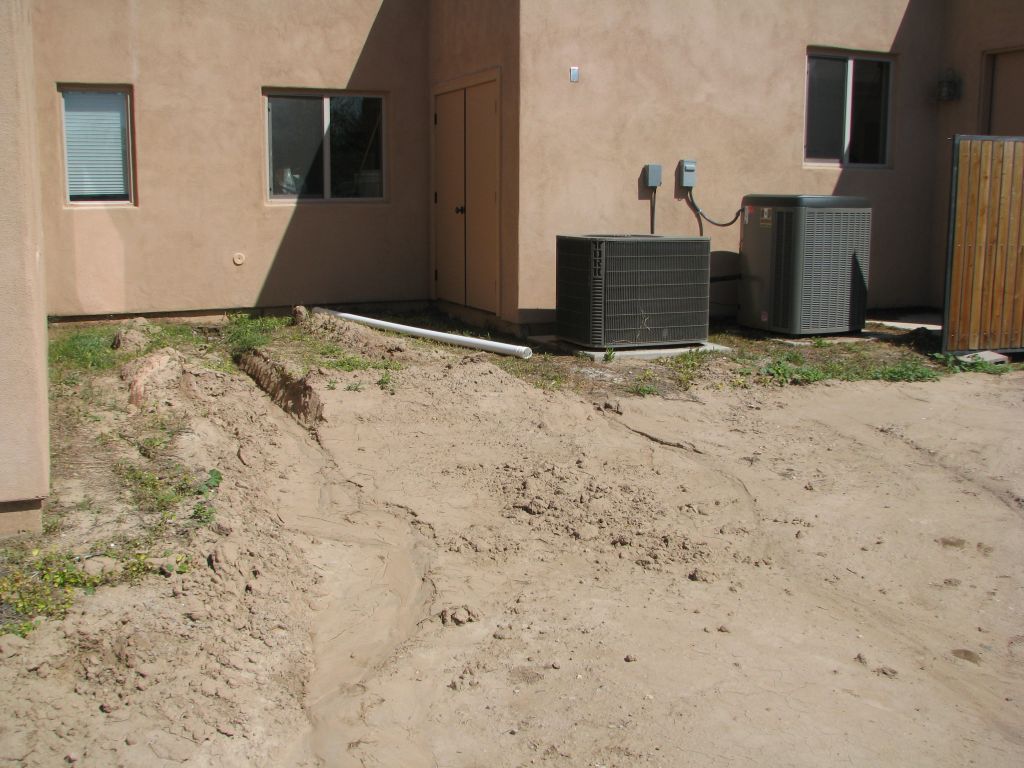
After this part of the project, I didn't do any masonry for about three years until November 2012. Because I wasn't quite sure what I wanted to do with the north and west sides of the villa, I moved to the south side and just started building. The next picture is BEFORE work begins.
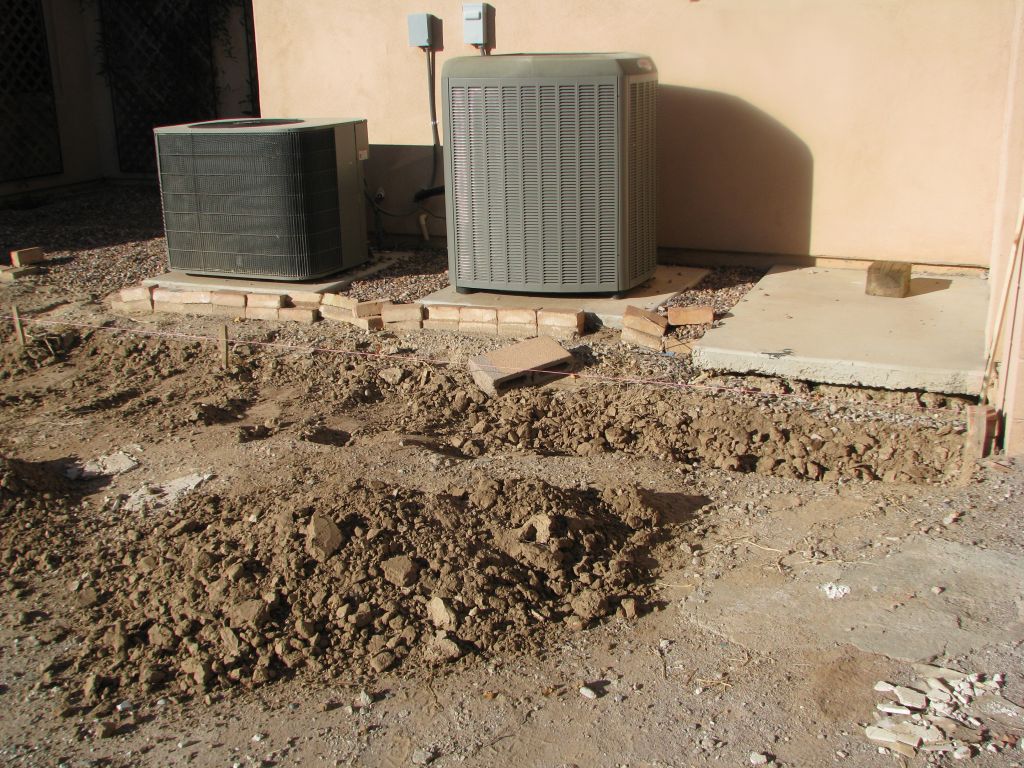
The project starts with a lot of excavation.
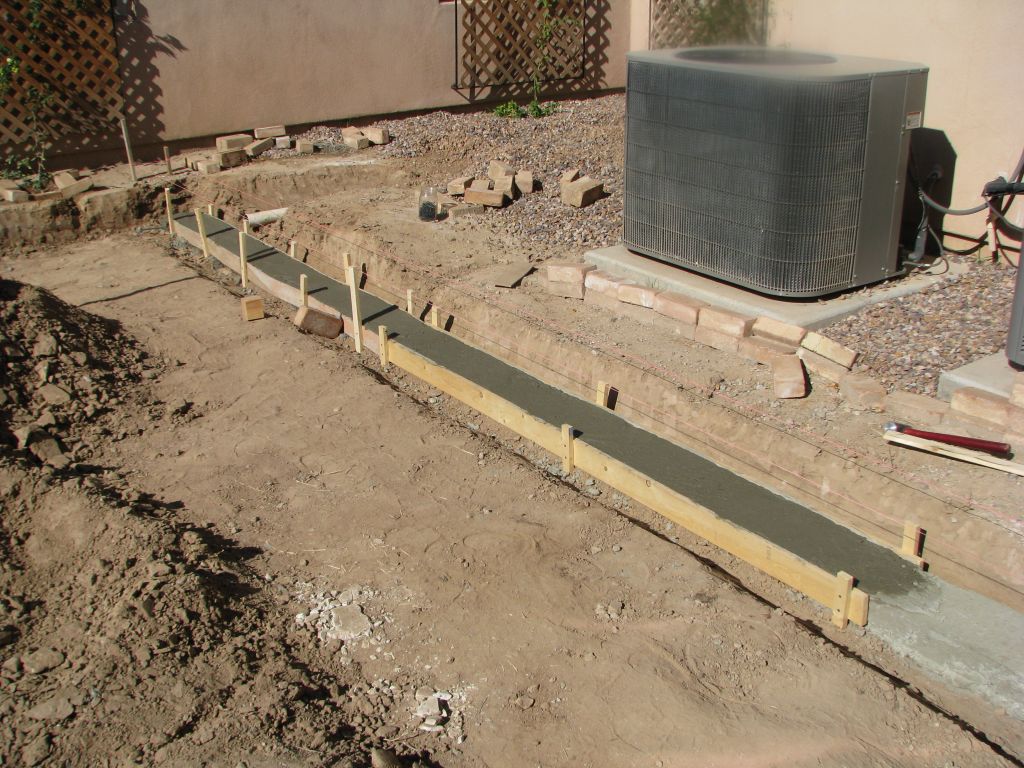
Then I poured concrete footings, partially to support the weight of the bricks but also to provide a baseline for wall height.
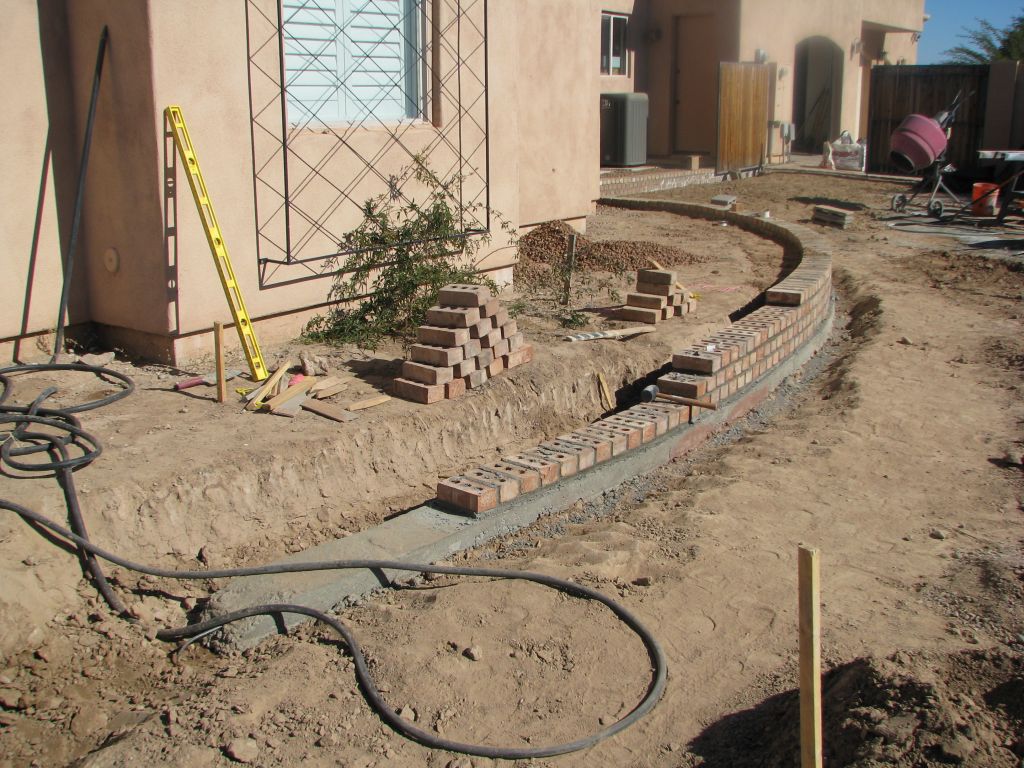
I finally begin laying bricks in December 2012. I learned all of my masonry skills from YouTube videos but even so, I made a lot of mistakes. My maiden voyage into masonry is documented in the Crisis Garden project, which looks OK from a distance but you can tell I didn't really know what I was doing if you look closely. Part of my reason for resuming the masonry project on the south side of the house is that it is the least visible and that I could work out all (or most) of my mistakes.
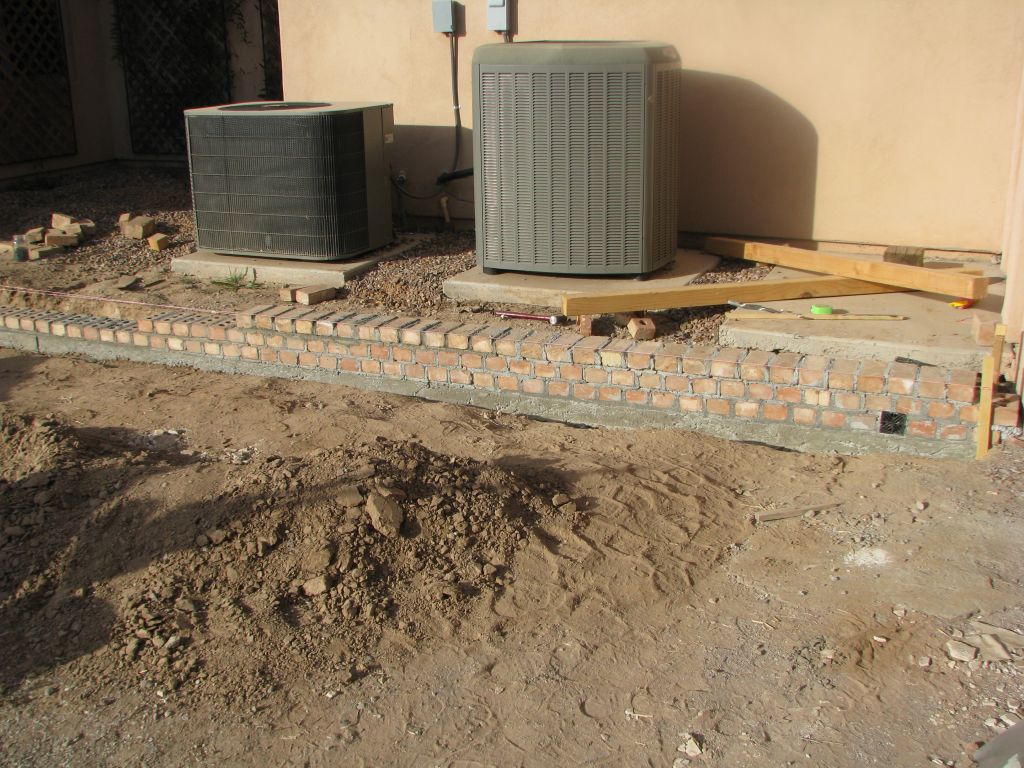
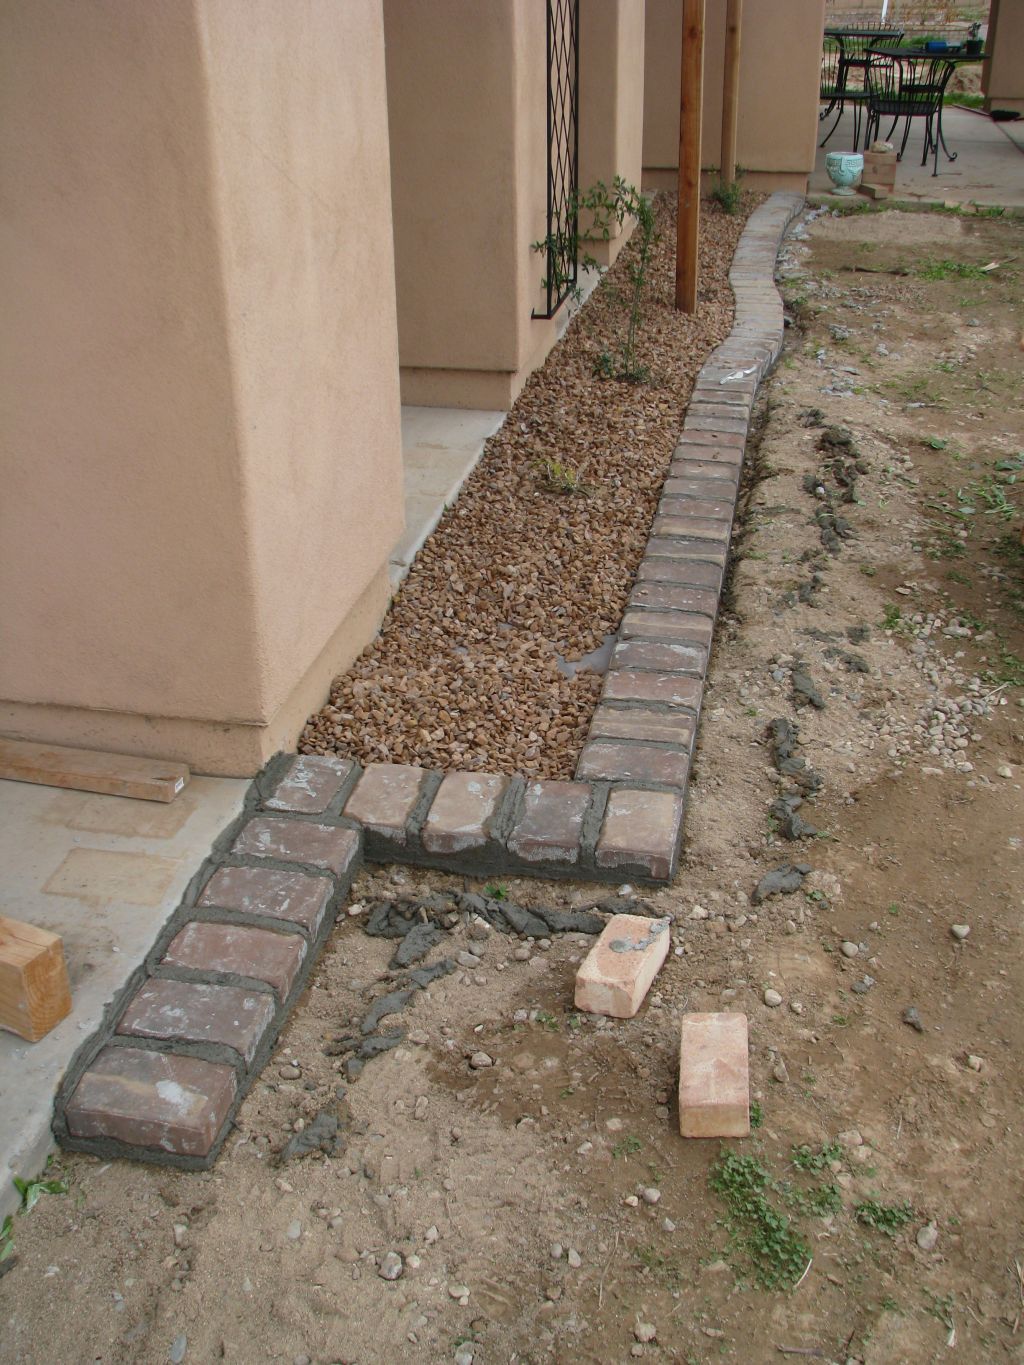
By January, I had completed the entire south side and began wrapping around to the west side. Part of the engineering in this project includes a wash trench at the base of the wall where water from storms channel.
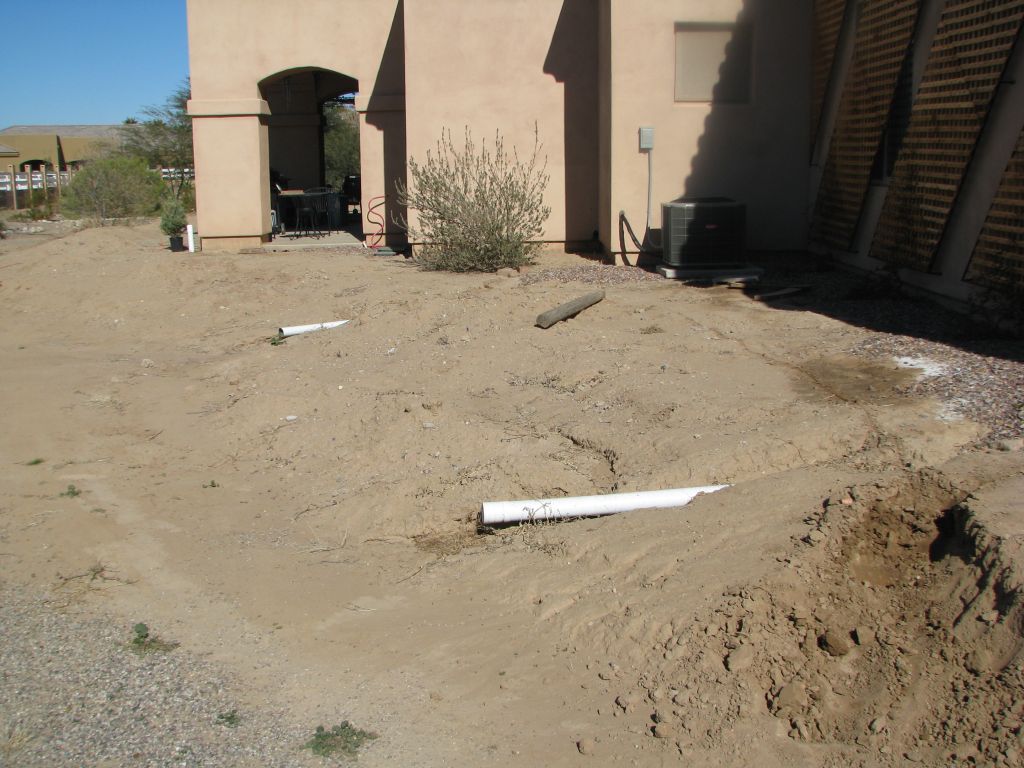
There was a lot of ground to cover on the west-facing side. This is the BEFORE picture.
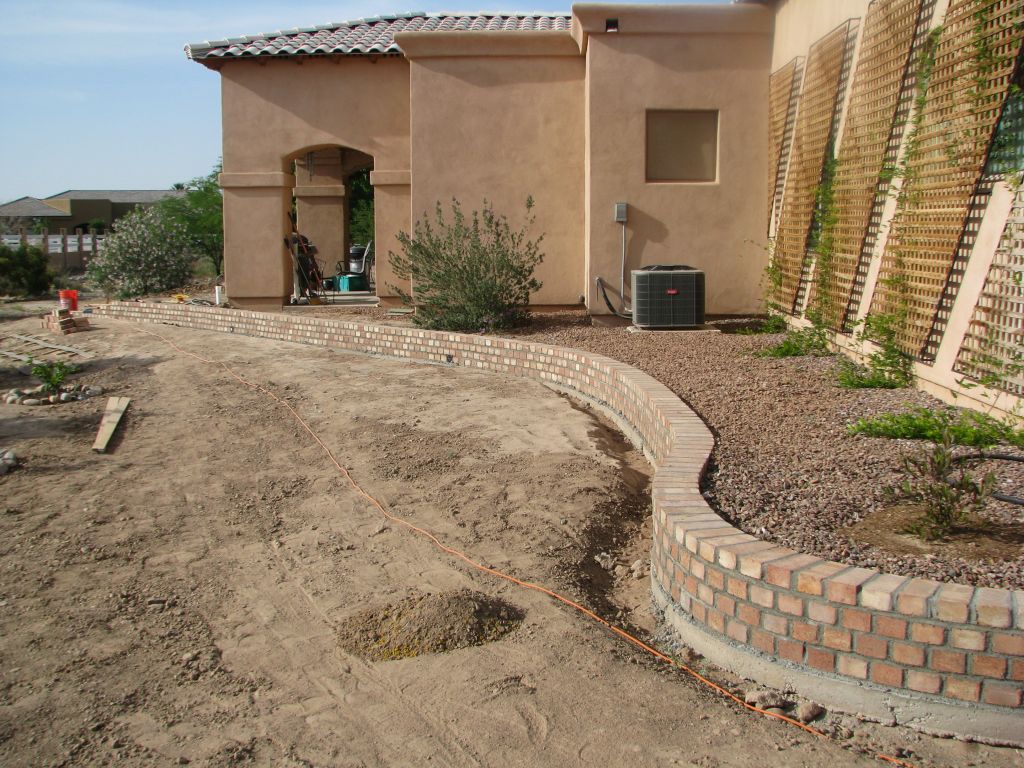
The AFTER picture, four months later:
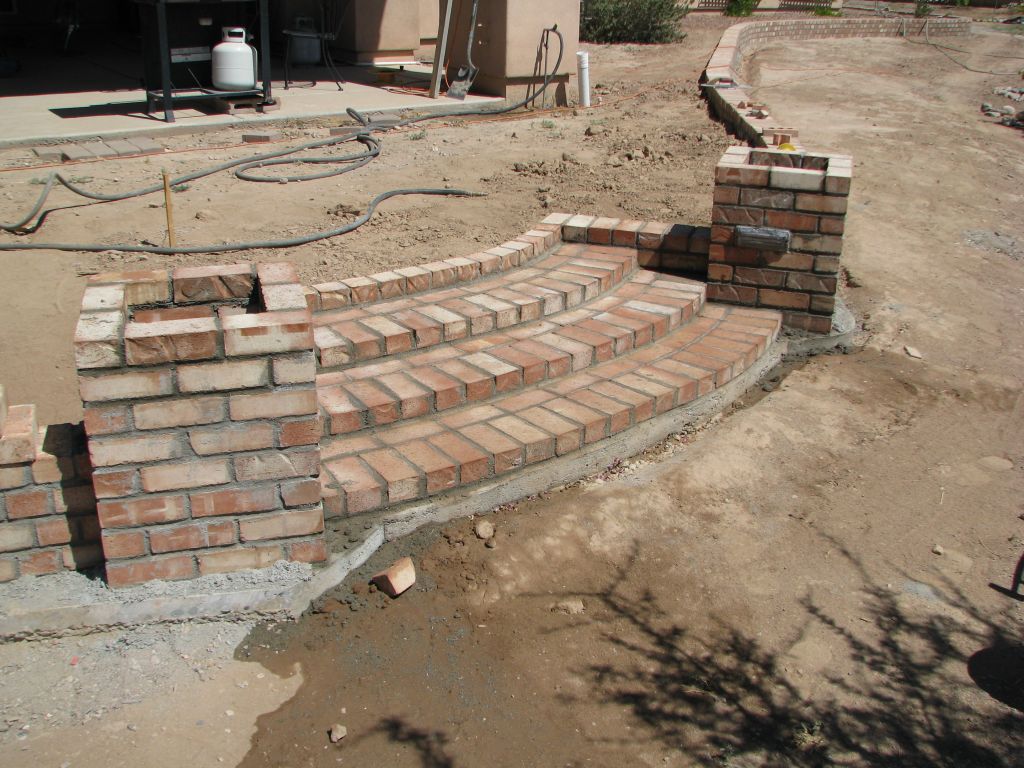
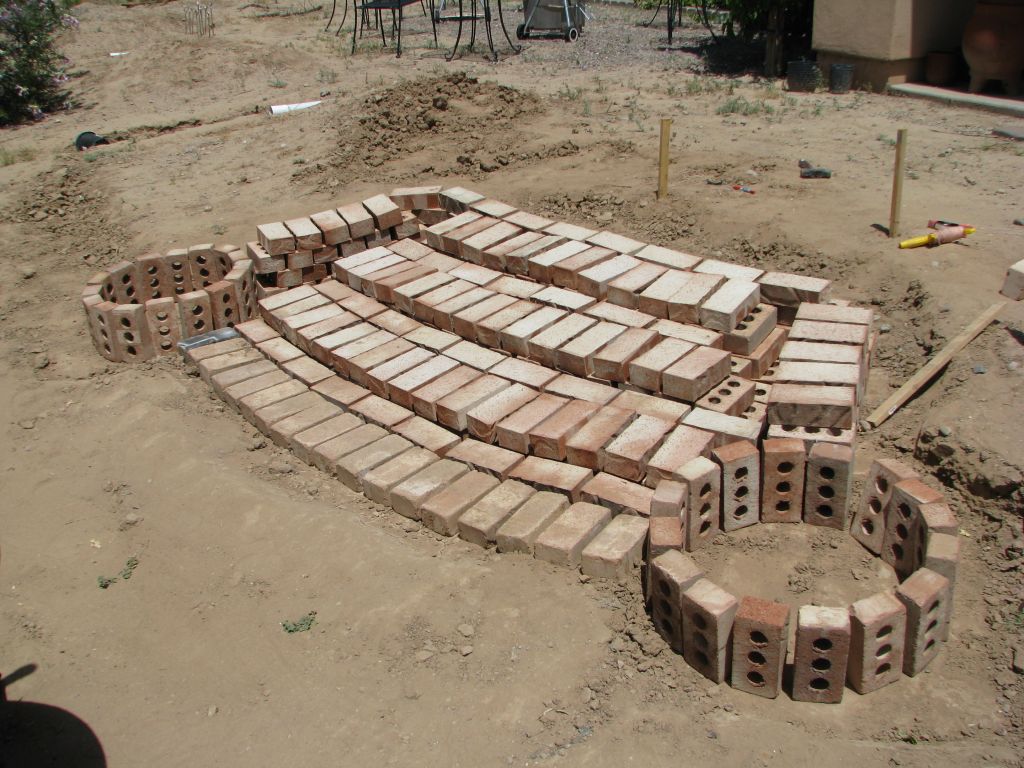
In May 2013, I finally reached my stopping point for Phase 1 at the patio. I'm not quite sure yet what I will build for Phase 2 but I do know that I wanted some simple stairs from the BBQ area down to the trail. The next photo is a dry mock-up so I know the size of the footing to build.
Project completed: June 2013
I had intended to build round planters to flank the stairs, which would have involved a lot of brick trimming so I took the easy route and made the planters rectangular. I also bought a couple of brick-sized, low-voltage step lights, which I probably won't hook up to a landscape transformer until much later.