After having
spent our first year completing screw-ups that our
bankrupt builder left us with, I finally had the
opportunity to turn my attention to fun projects. The
first project was the garden. I had many reasons for
wanting to start a garden but the biggest reason was
simply to have fresh vegetables available and not having
to worry about insecticides and preservatives. The
"Crisis" part of the garden was more in response to the
crappy economy and wanting to be more self-sufficient, but
I could also say that working in the yard and garden is
therapeutic and relaxing, which is the ideal way to deal
with stress.
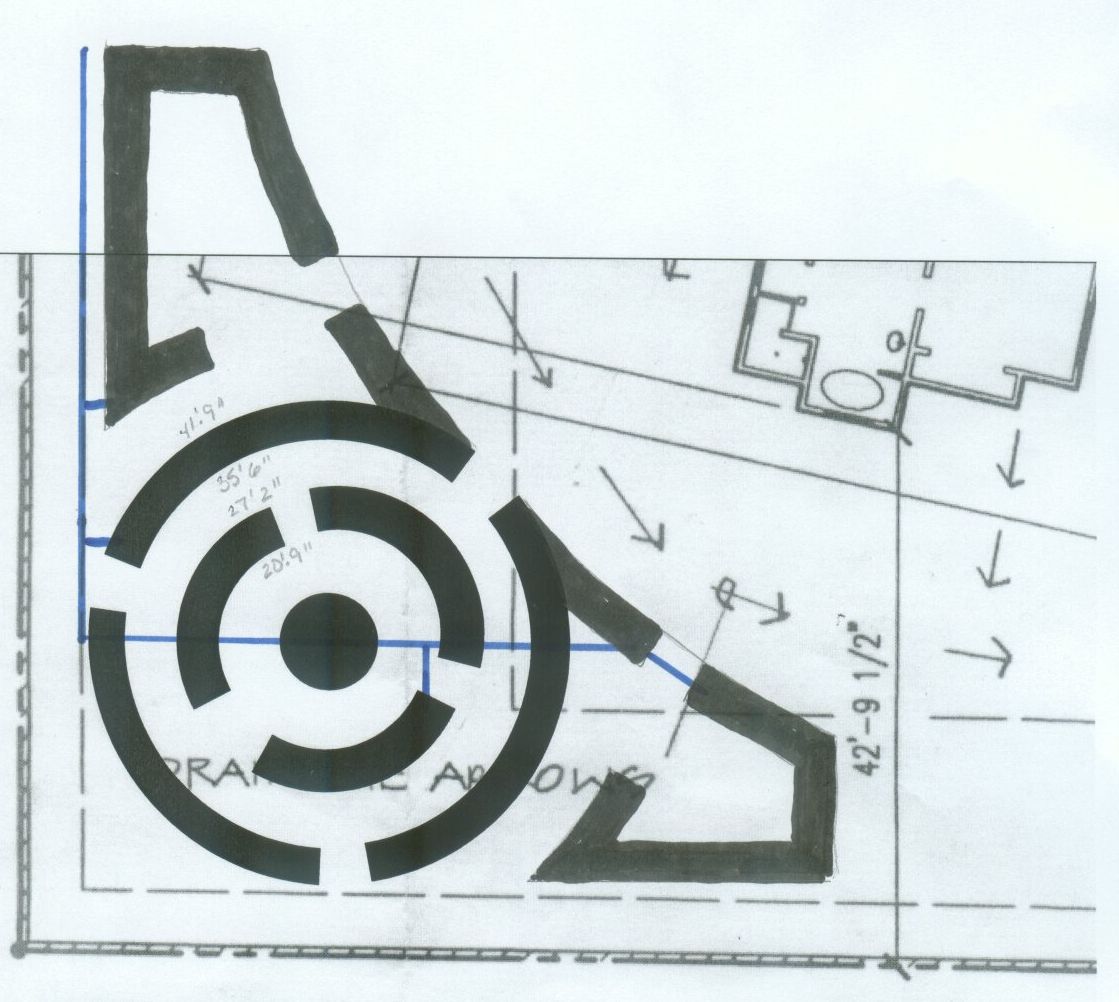
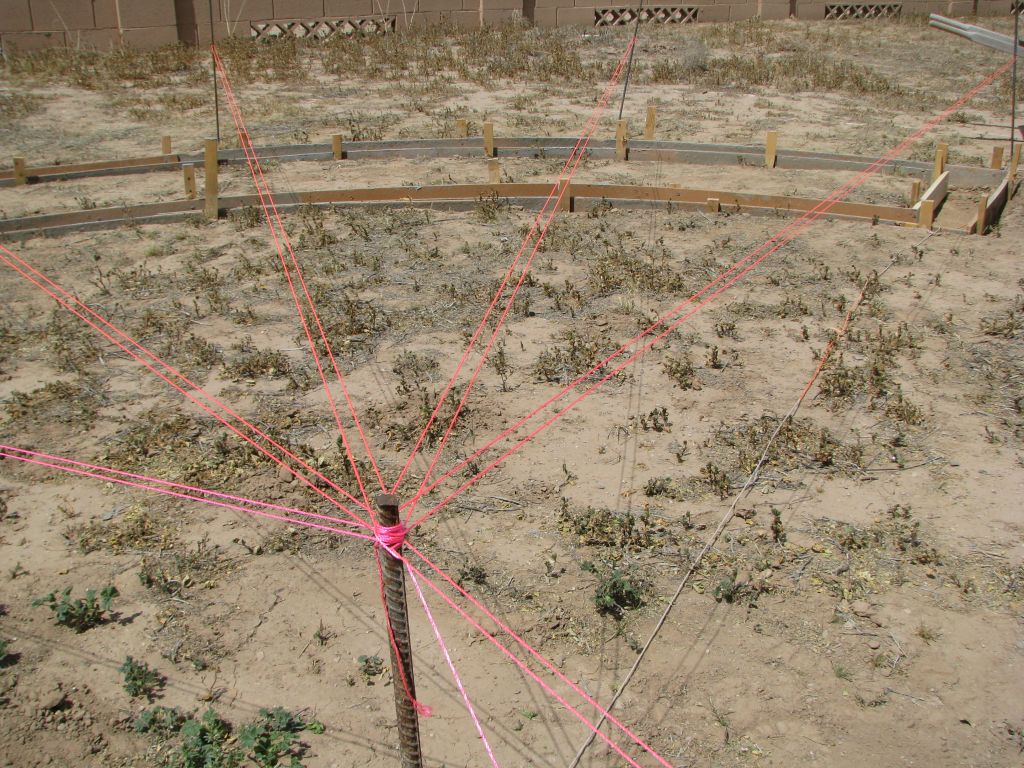
The first challenge was coming up with a design. I didn't want to create anything conventional or sloppy so I decided to create a garden maze like something you would see in a botanical garden. This drawing was my first draft from which the plan took form. The idea is perhaps a bit more elaborate than the garden will turn out to be but it looked cool on paper. The design involves concentric circles with "wings" to the north and east.
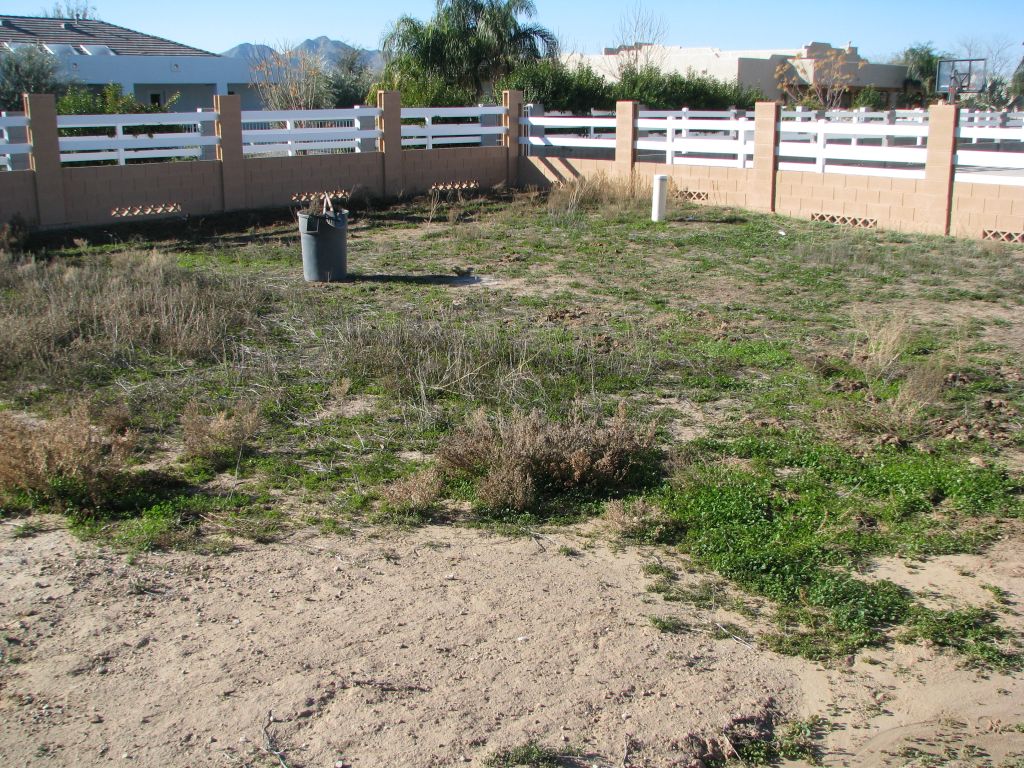
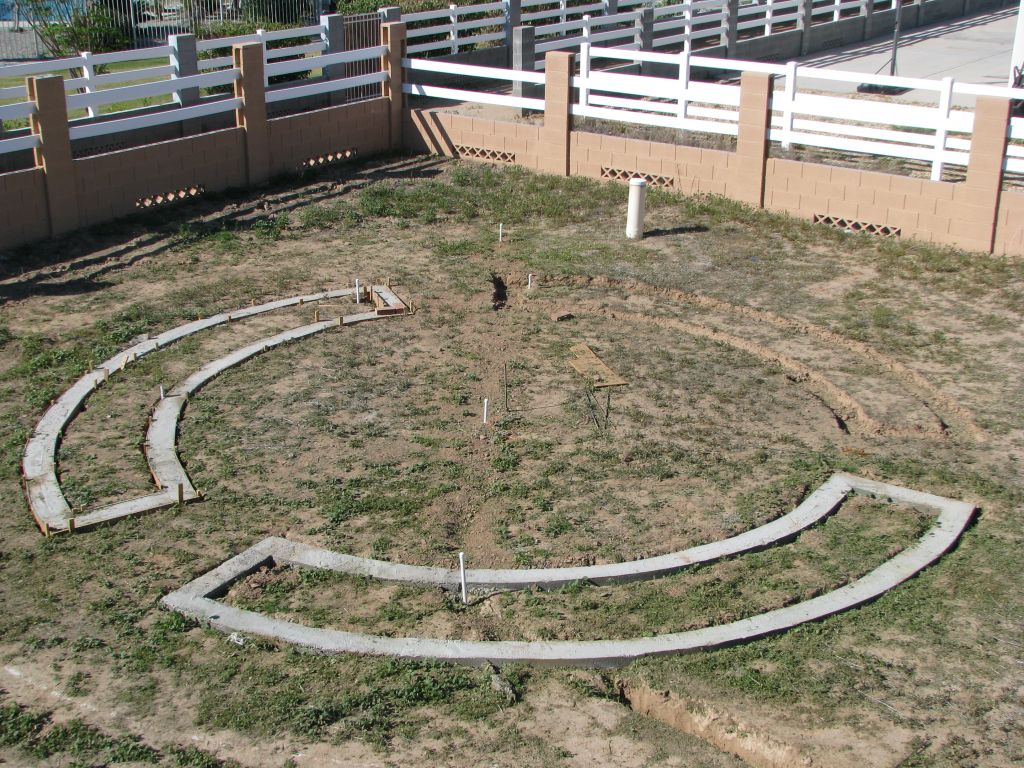
The location was the southwest corner of the yard. At the time, the weeds had taken over so I had to implement a scorched earth policy to clear a space.
January 26th, 2009
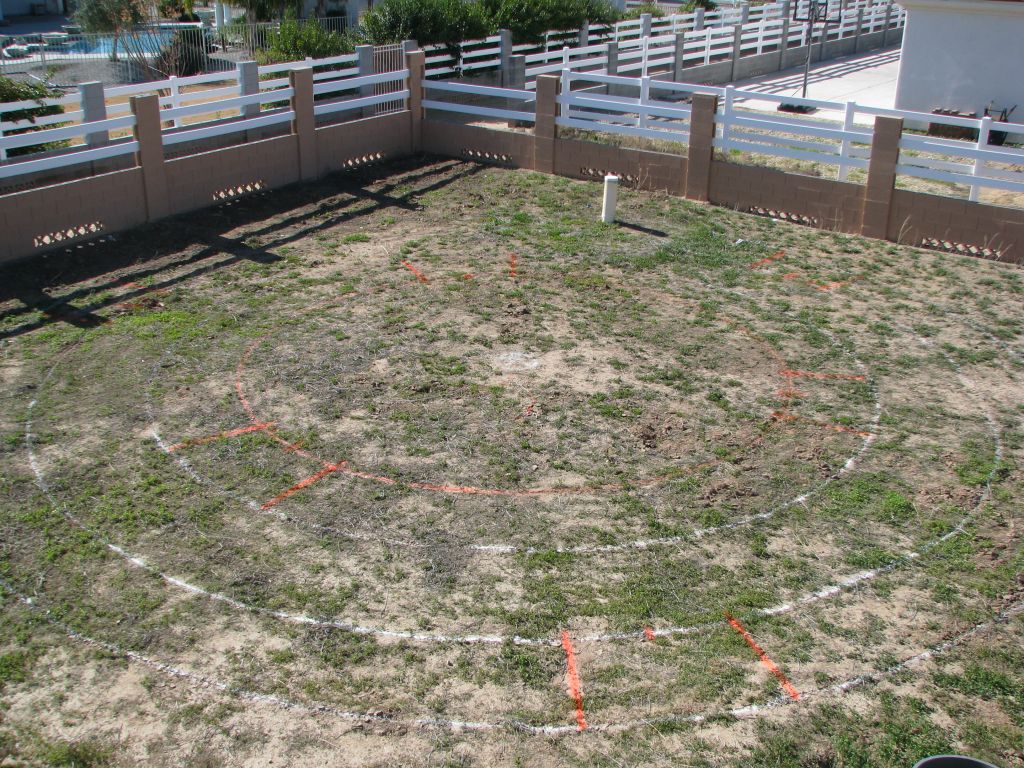
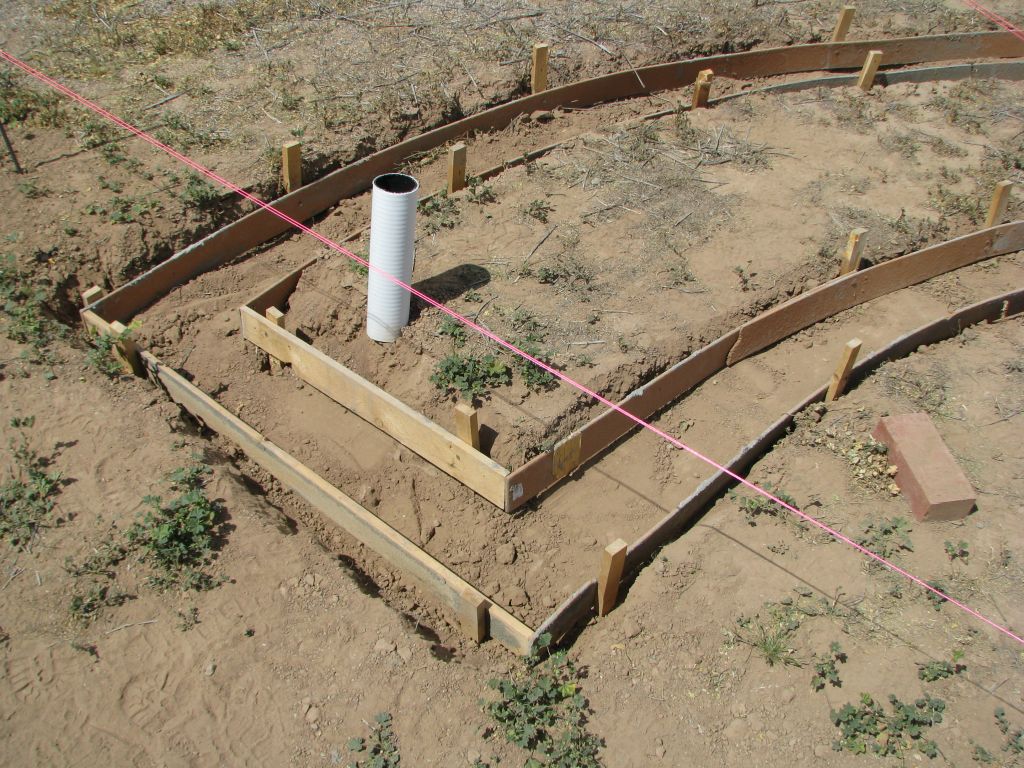
The first part of the plan to implement was measuring and marking where the pieces would end up going. Clearing the weeds was a continual challenge because they grew so fast and obscured the marking paint.
January 29th, 2009
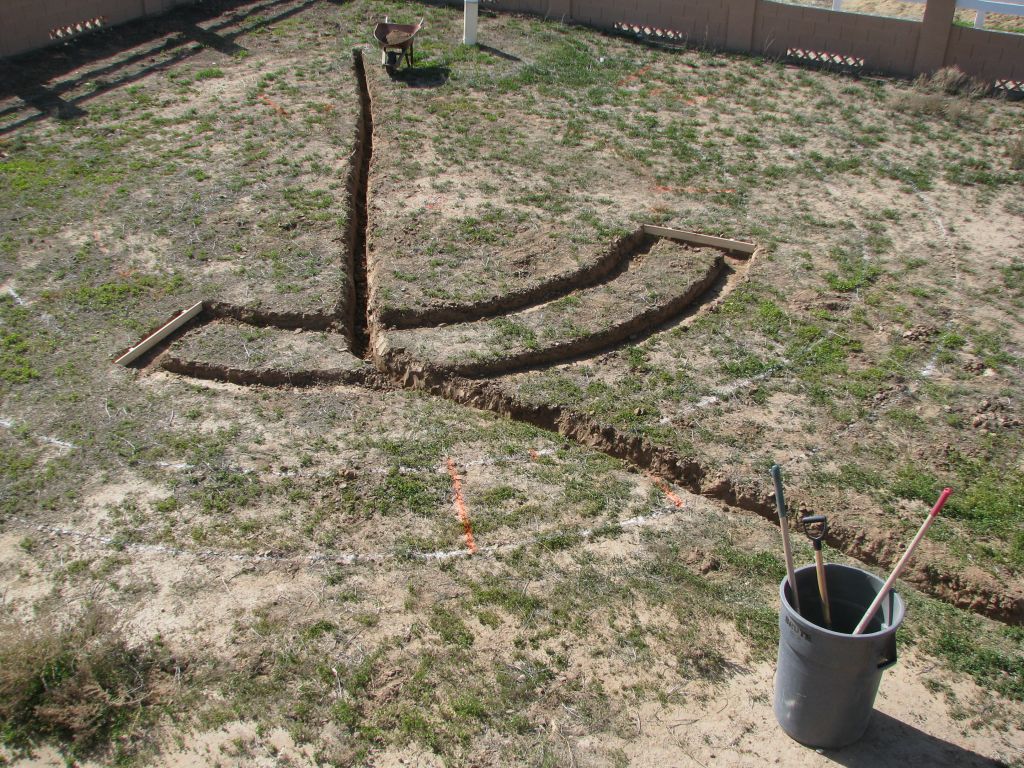
The next step was to begin digging the footing for the inner circle and the trenches for the automated irrigation. Although I had had some experience with landscape irrigation before, I had not done hardly anything with concrete and masonry. Thanks to my brother-in-law Matt for advice on how to make a decent footing that will support what I wanted to build.
February 5th, 2009
The next picture shows the
completed footing for the second segment of the inner
circle, the third segment footing dug, and the completed
installation on the irrigation for each section.
March 12th, 2009
One of the challenges that I found while building these footings was that this corner of the yard was on a mild slope. As a result, I had to measure for the height of all the forms in relation to a common point so that the planter heights would all be consistent, despite the slope.
The first challenge was coming up with a design. I didn't want to create anything conventional or sloppy so I decided to create a garden maze like something you would see in a botanical garden. This drawing was my first draft from which the plan took form. The idea is perhaps a bit more elaborate than the garden will turn out to be but it looked cool on paper. The design involves concentric circles with "wings" to the north and east.
The location was the southwest corner of the yard. At the time, the weeds had taken over so I had to implement a scorched earth policy to clear a space.
January 26th, 2009
The first part of the plan to implement was measuring and marking where the pieces would end up going. Clearing the weeds was a continual challenge because they grew so fast and obscured the marking paint.
January 29th, 2009
The next step was to begin digging the footing for the inner circle and the trenches for the automated irrigation. Although I had had some experience with landscape irrigation before, I had not done hardly anything with concrete and masonry. Thanks to my brother-in-law Matt for advice on how to make a decent footing that will support what I wanted to build.
February 5th, 2009
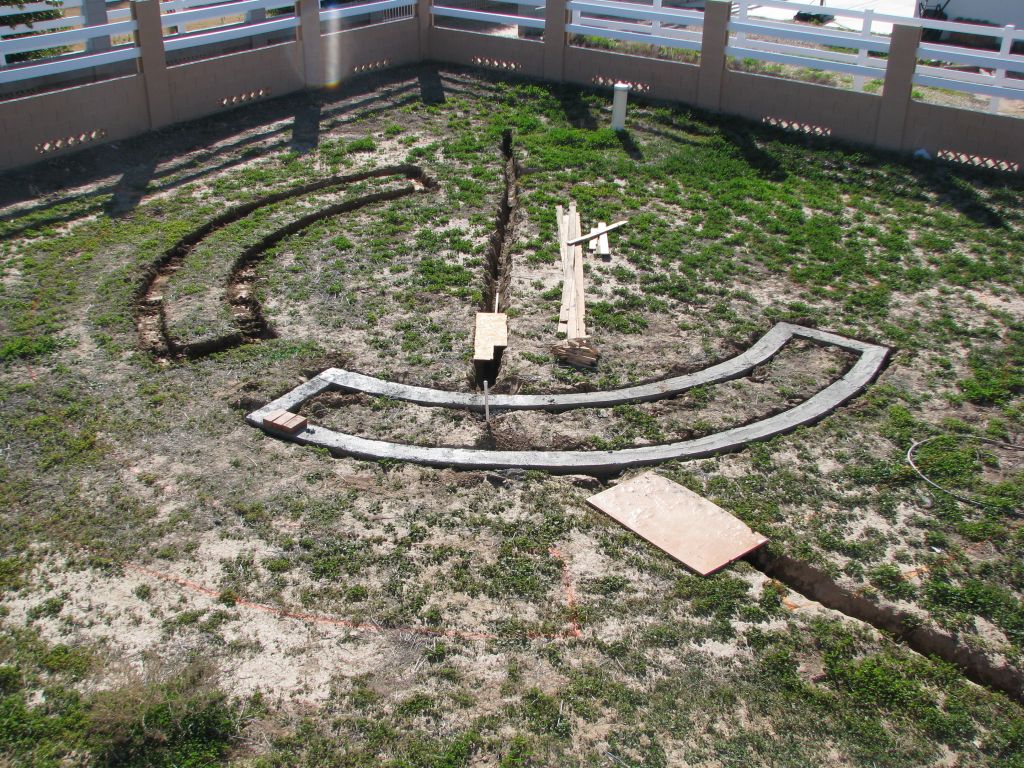
Next,
I poured the concrete for the first footing, dug the
footing for the second inner circle segment, and
installed the PCV irrigation pipe. At first, I was
buying bags of Quick-crete concrete mix until I found
that it took about 15 80-pound bags to complete the
footing. After that, I made my own concrete. I bought
bags of Portland cement, a portable concrete mixer,
and had
a big pile of concrete aggregate delivered, which was MUCH cheaper
and required a lot less effort.
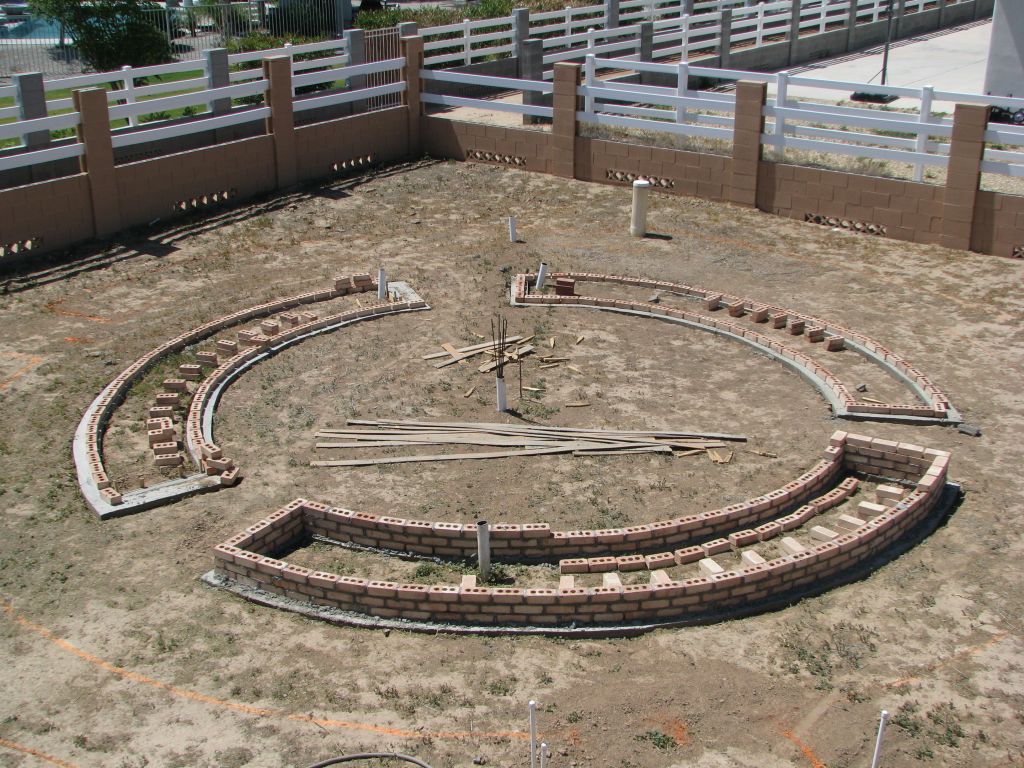
February 18th, 2009
February 18th, 2009
March 12th, 2009
One of the challenges that I found while building these footings was that this corner of the yard was on a mild slope. As a result, I had to measure for the height of all the forms in relation to a common point so that the planter heights would all be consistent, despite the slope.
 |
 |
| March 29th, 2009 | |
Finally, I was able to
start the masonry. Thanks to lots of YouTube videos on
bricklaying (and a few initial mistakes), I figured it
out.
I found a place in Phoenix that made bricks locally
and in lots of southwest colors so I had some pallets
of "Sedona" bricks delivered.
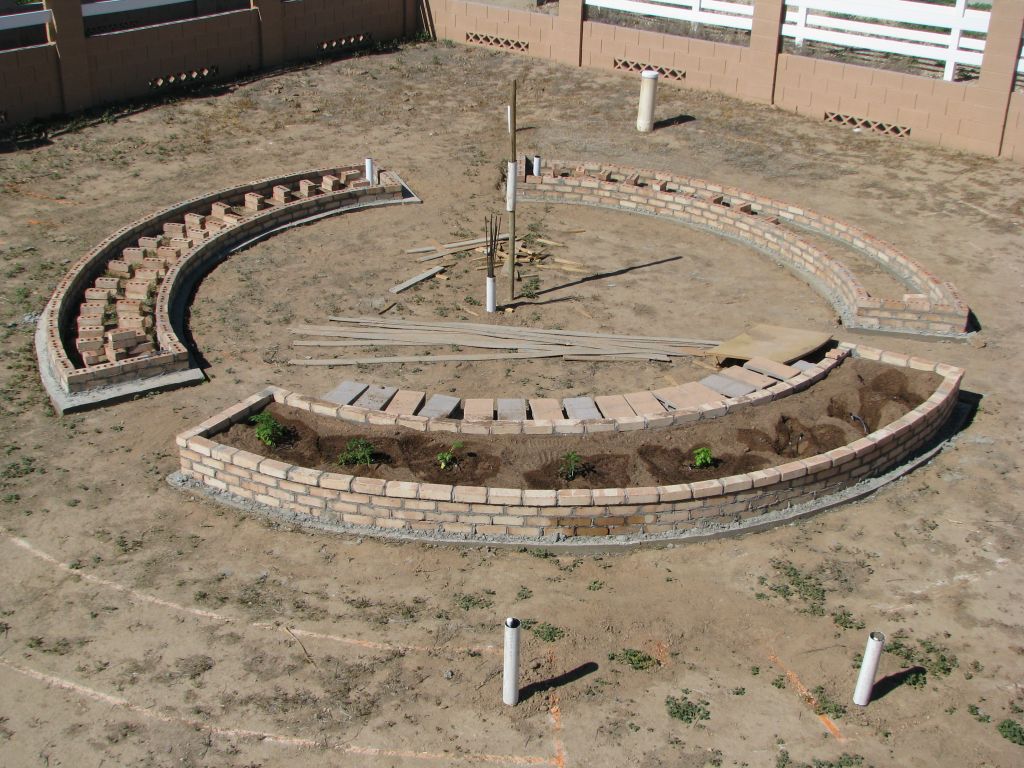
April 6th, 2009
April 6th, 2009
With the first segment of the inner circle
complete, I built a ramp with blocks left over
from the perimeter wall so that I could dump
garden sod into the planter with a wheel barrel.
Because I got this started so late in the
year (at April, it already gets over 100 degrees
during the day), I bought some small plants from
the hardware store just so I could have something
growing. This segment has tomatoes, jalapeños,
basil, and squash.
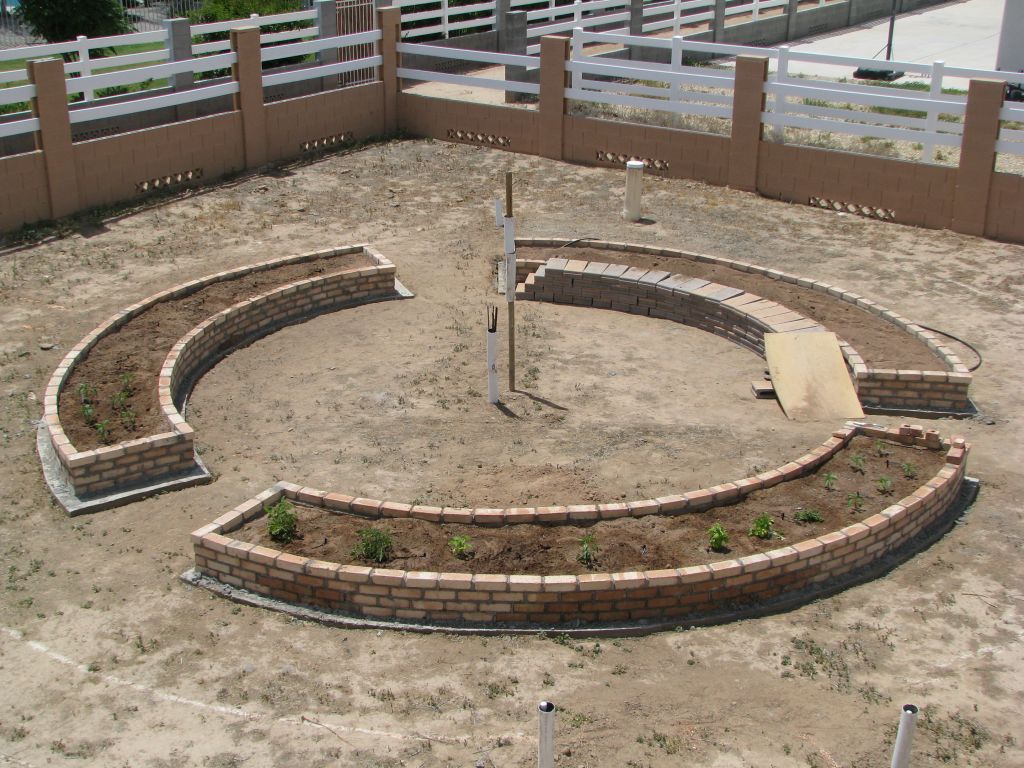
April 20th, 2009
April 20th, 2009
Finally, I got the
last segment of the inner circle completed.
Red and yellow bell peppers, pumpkins,
watermelons, lettuce, arugula, and lots of
onions. Even with all that, there is still
space left over to plant stuff. When I get
around to building the outer circle, I'm going
to have more veggies than I know what to do
with.
Project
completed: April 30th,
2009