In 2010, I built a "prototype" wine rack to accommodate our good wine that we bought in Napa. The idea was to figure out a design that looked good and was functional, but also to get the wine out of the boxes that they were in and on their sides so the corks didn't dry out.
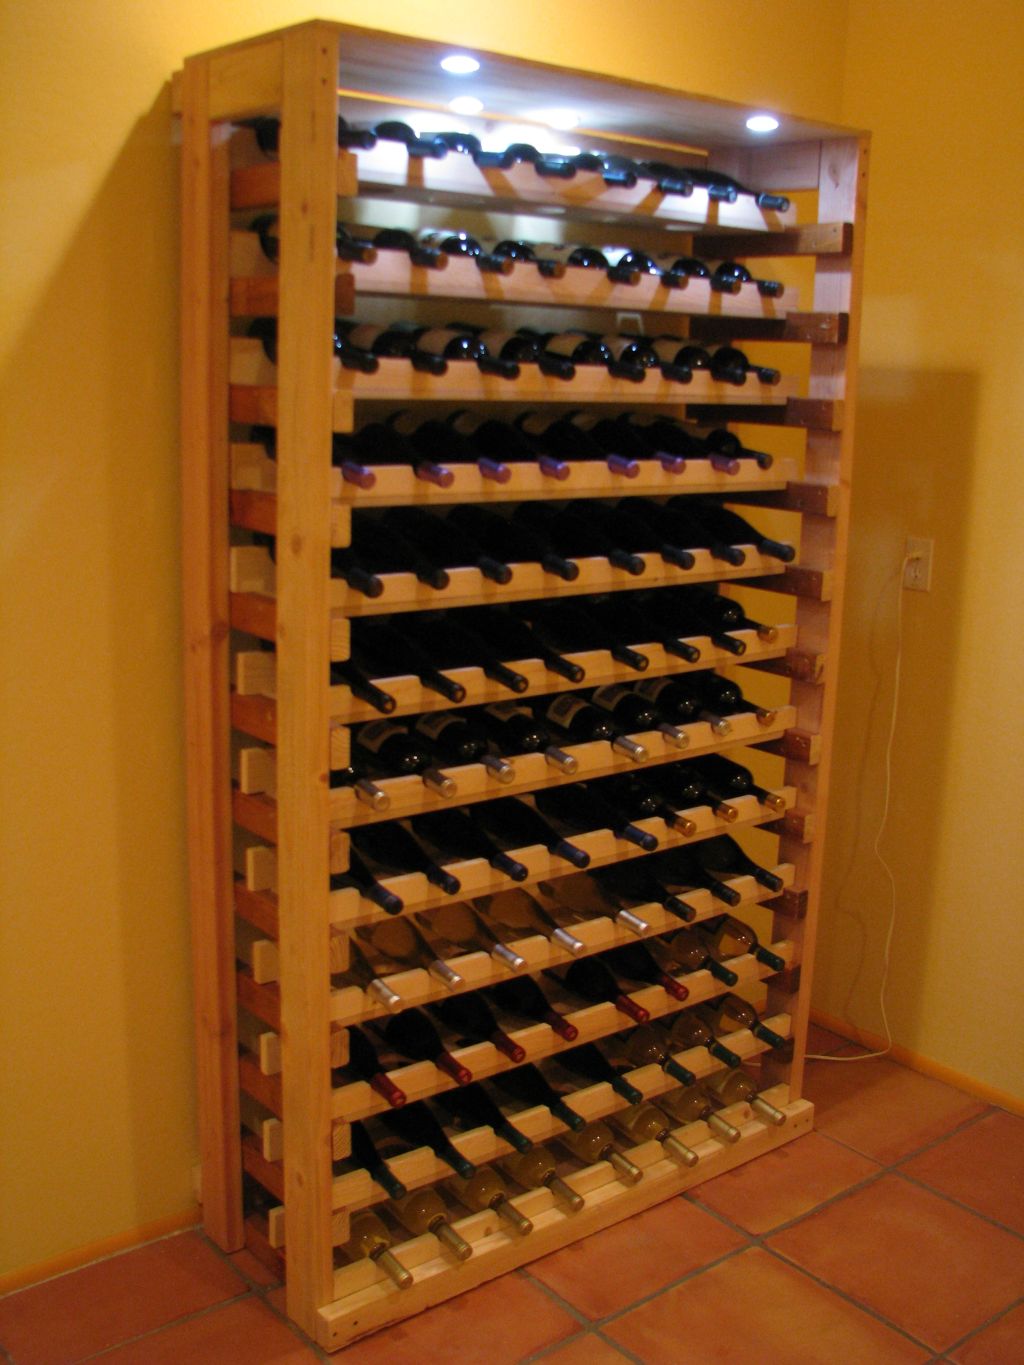
The problem that we discovered is that the wine was aging and going bad in months when it should have lasted for years. After learning what we now know about wine, this unfortunate outcome should have been no surprise considering the temperature (average 78 degrees F) and low humidity at which we stored the wine. Ideally, wine should be stored at 55 degrees F and at 50-70% humidity.
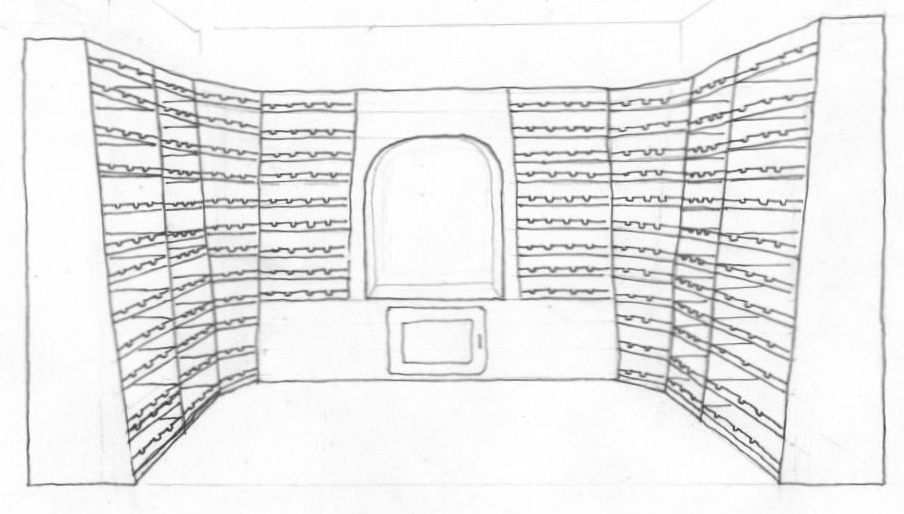
This prompted us to come up with a new rathskeller design. The following is the initial schematic that I came up with. The idea was to build old-school shelves, like the ones in the prototype, but into all of the walls. After that, wall the whole room in and refrigerate it. I wasn't quite sure how to accomplish this so in true engineer form, I just started building, hoping that inspiration would spontaneously strike when needed.
Time Line
November 2010
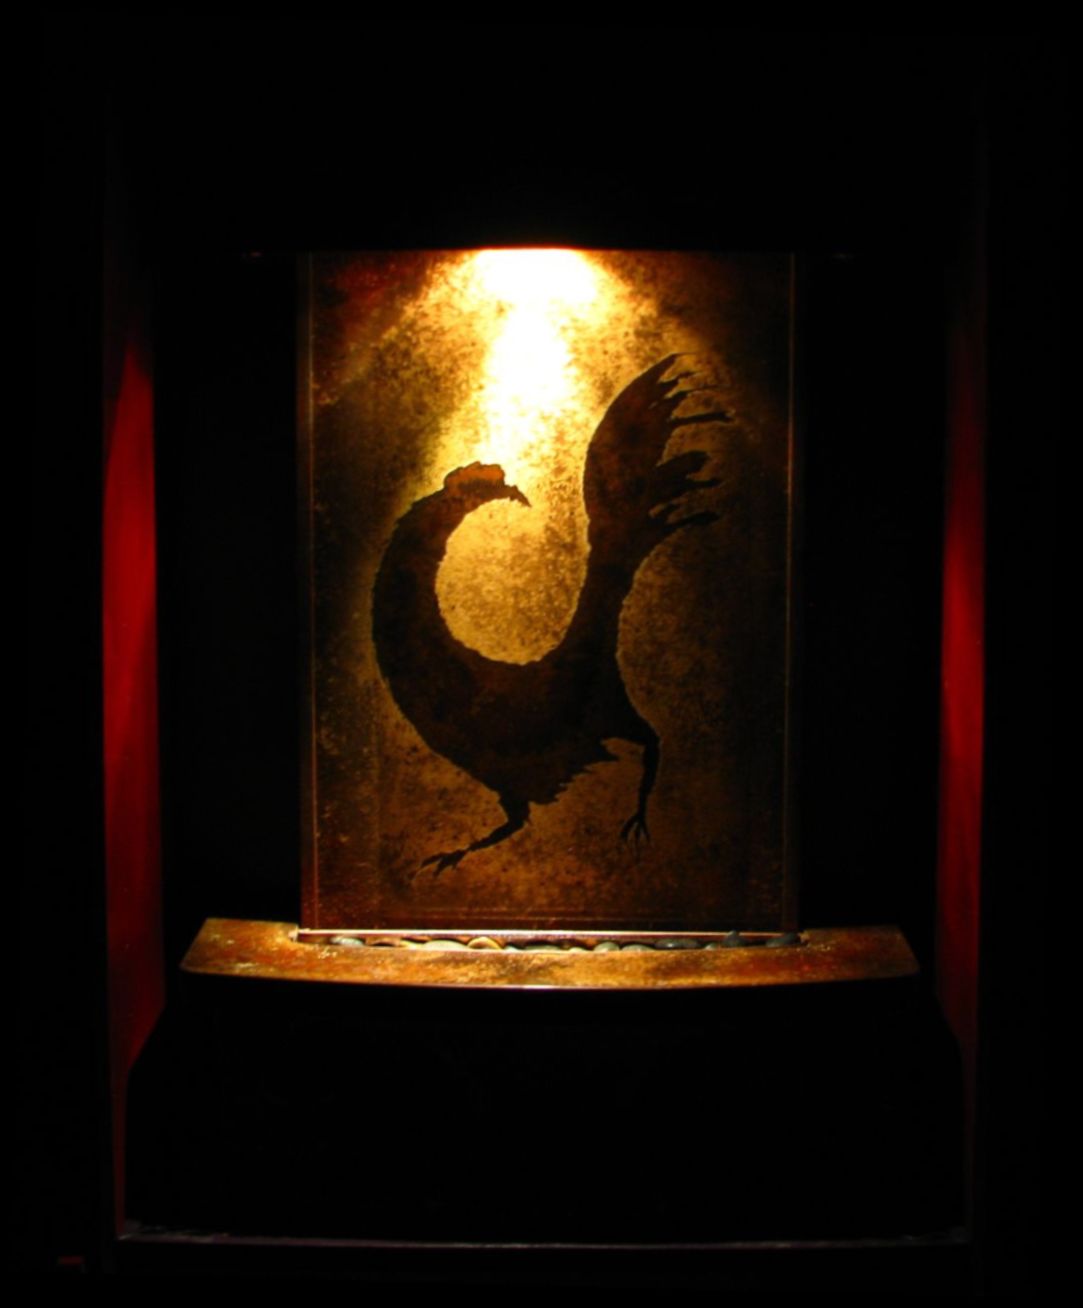
I knew that we needed to humidify the room somehow so in November 2010, while at a Thunderbird Artists festival, we asked a talented artisan named Greg Kinne to make us a fountain. We had admired his work for years and had been talking about where we would even put a fountain. We decided that the rathskeller is the perfect place for one because besides being the centerpiece, it will provide the humidity that the rathskeller needs. Greg told us that the fountain would take at least a couple of months to build, which was fine because the rathskeller construction would take at least that long.
February 2011
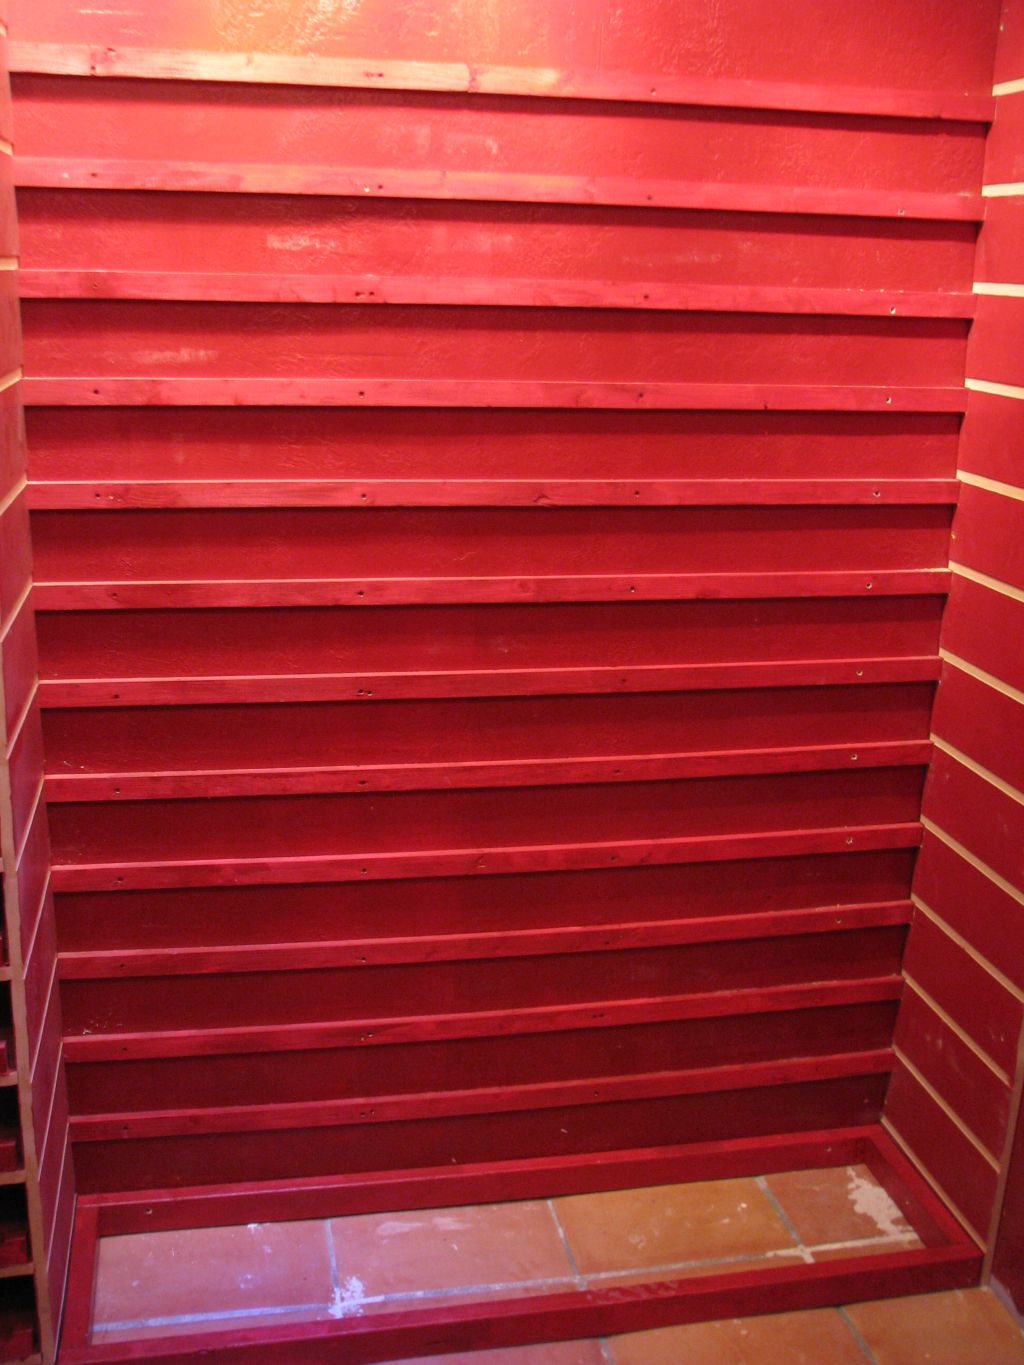
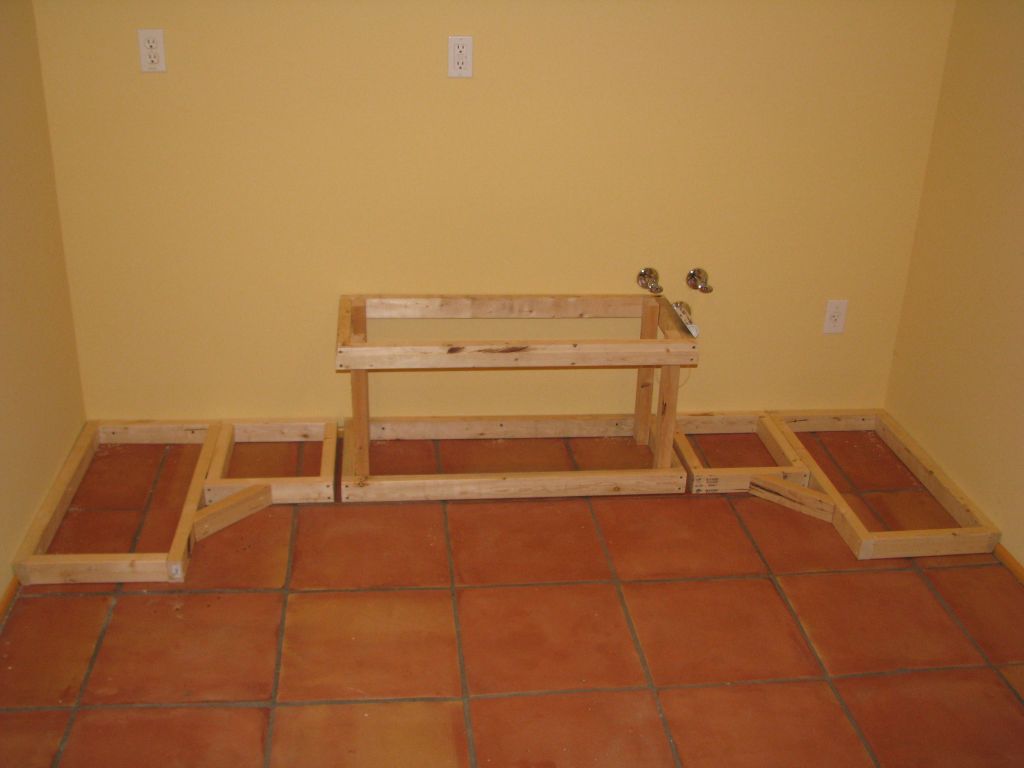
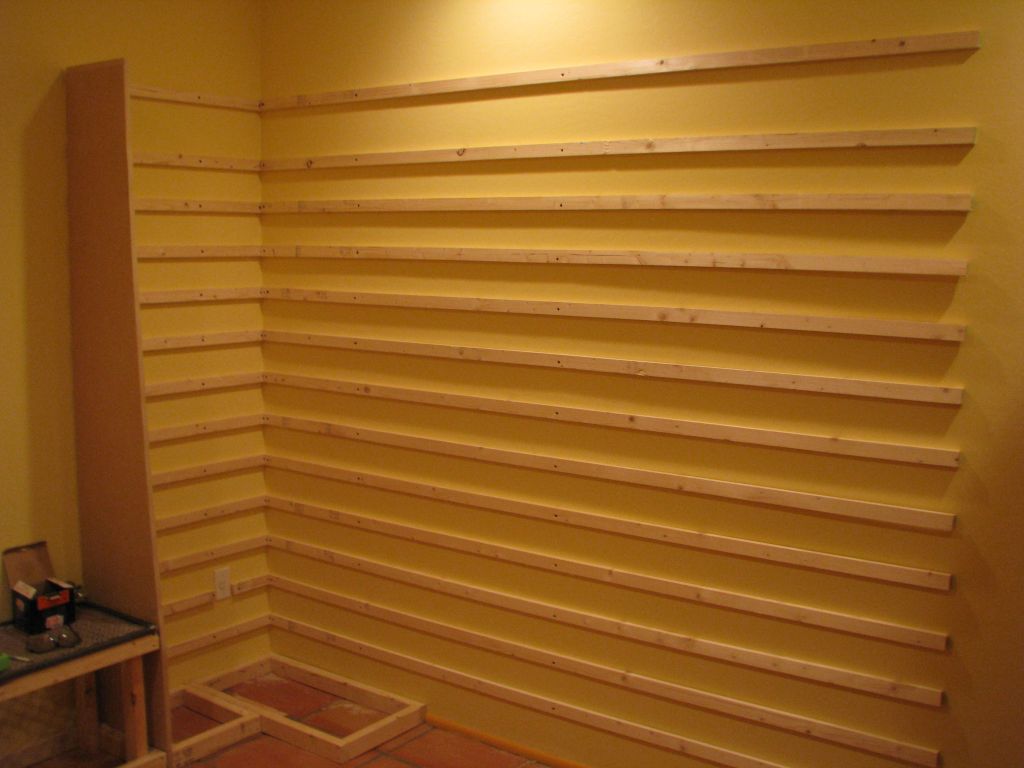
Construction begins. The plan is to have 13 rows of shelves that wrap all of the walls, with a space on the back wall for the fountain. The design will accommodate about 490 bottles. The first step involved building the base that will support the bottom racks, as well as the platform on the back wall that will support the fountain.
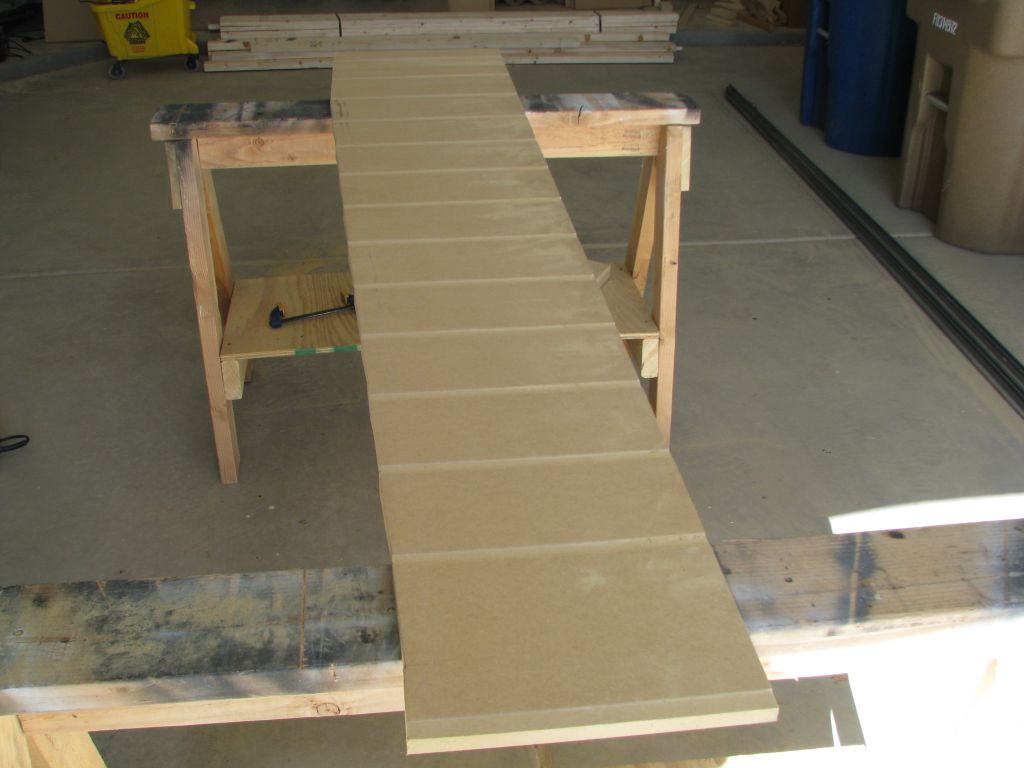
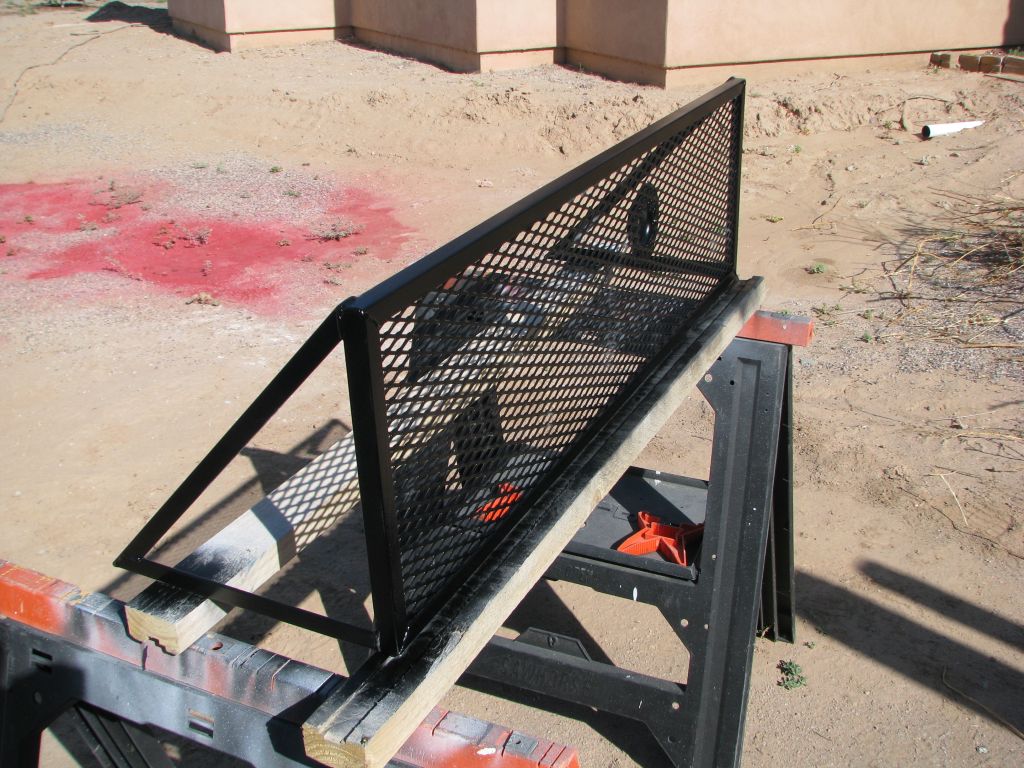
The vertical shelf supports are dadoed to hold the racks and are tapered to give the racks a staircase look.
As with the shelf designs for the office prototype and boiler room, I installed wall supports for the racks so that they won't flex from the weight of the bottles.
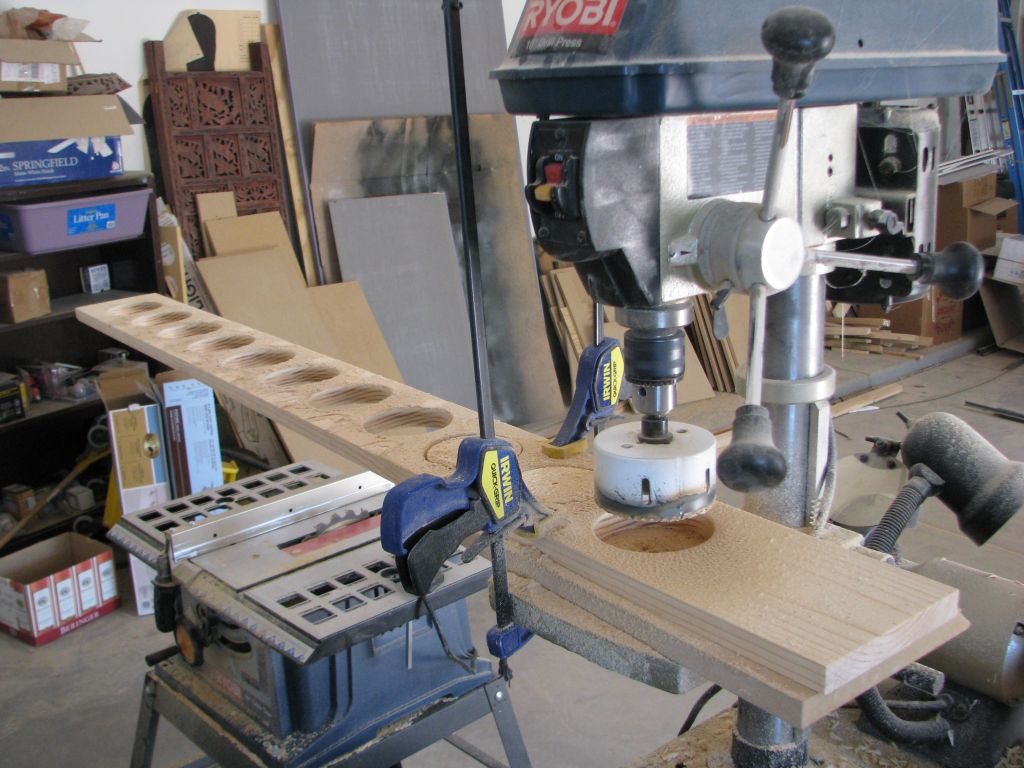
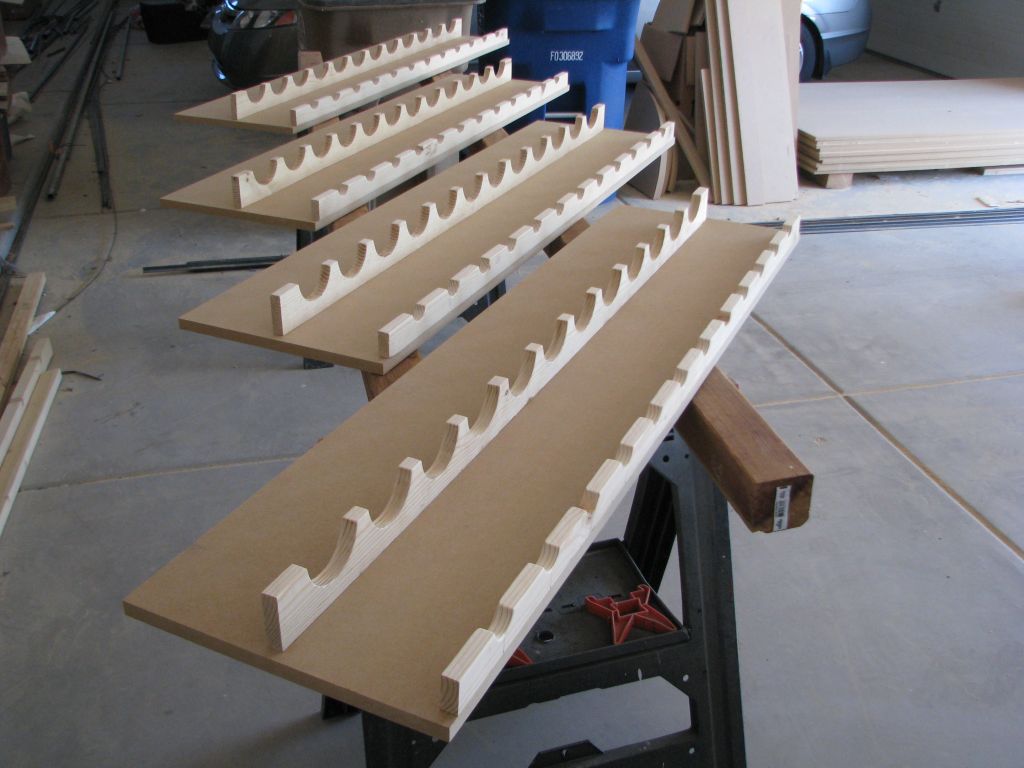
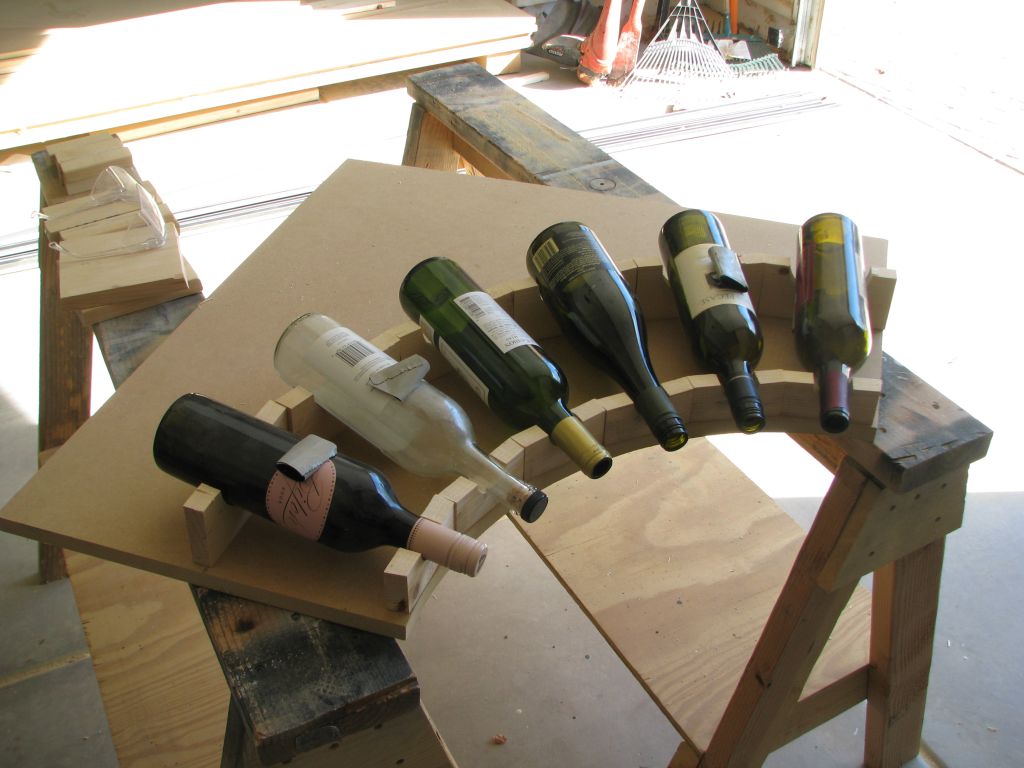
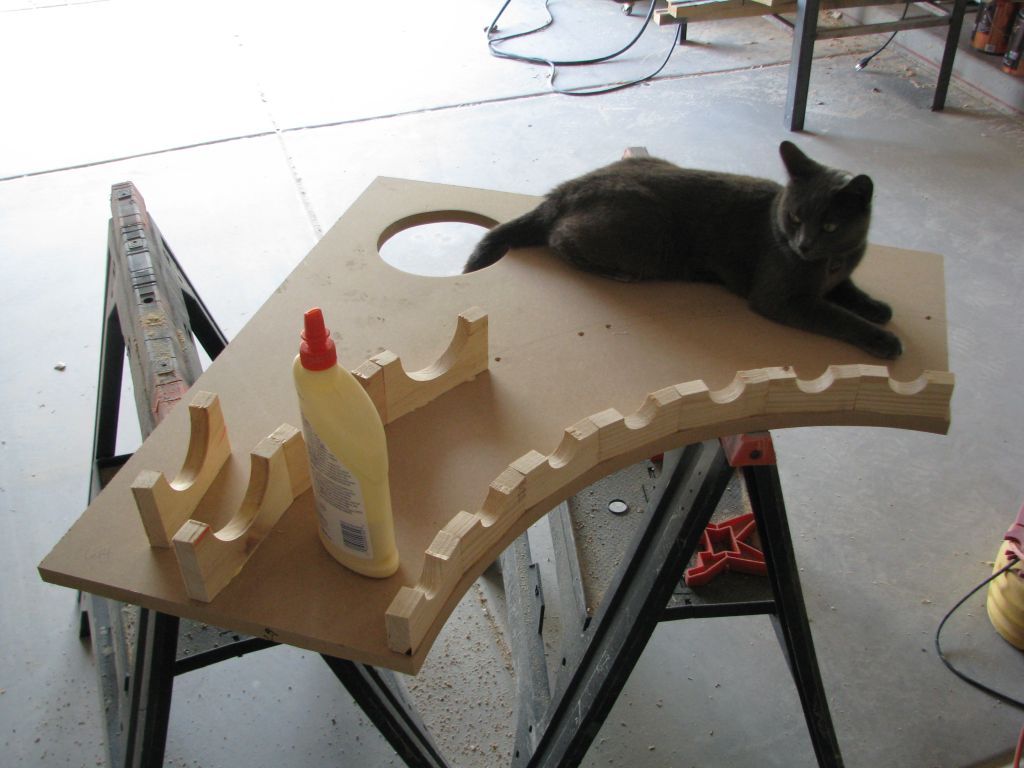
The corner shelves were an attempt to make the best use of space while looking really cool. I made these by cutting each wine bottle neck and body support piece individually and attaching them to the curved shelves.
March 2011
FULL STOP!
I discovered critical errors in the construction, forcing me to undo everything that I had already installed. While researching wine cellar construction, I found three critical requirements that I had NOT done:
1. A vapor barrier (which is simply heavy plastic sheeting) MUST be installed between behind the insulation.
2. Insulation should be at least R30 for the ceiling and R19 for the walls
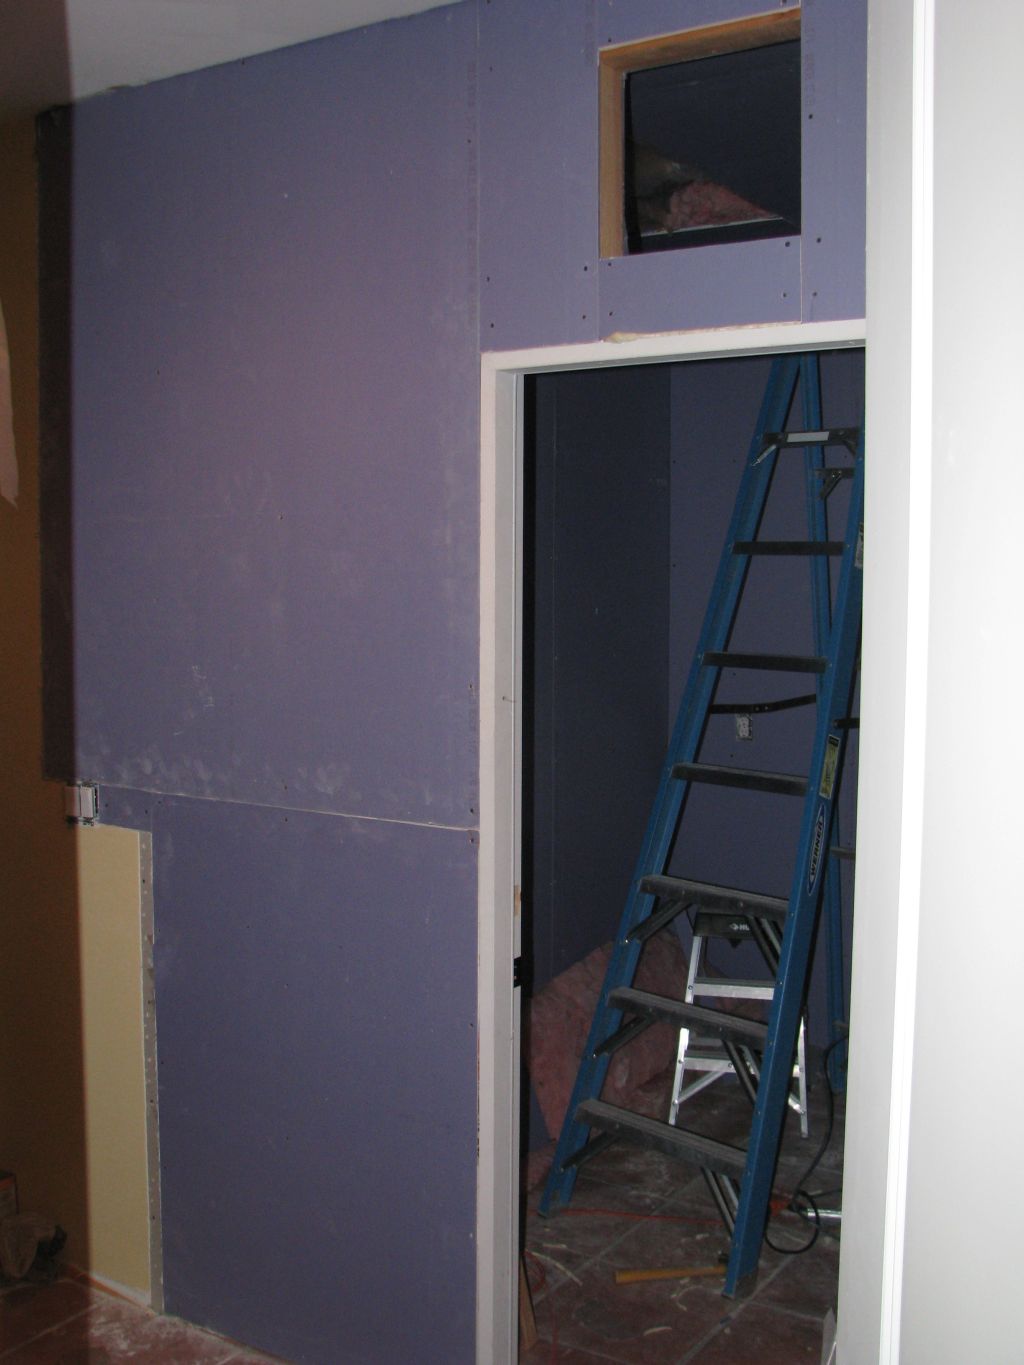
3. Drywall should be moisture and mold resistant "green" or "blue" board, such as the kind used in bathrooms
I asked some experts about what would happen if I didn't do these first. They all concurred that the worst of the consequences might include mold growing behind the walls and the AC unit dying prematurely due to overwork. Damn.
Let the demolition begin!
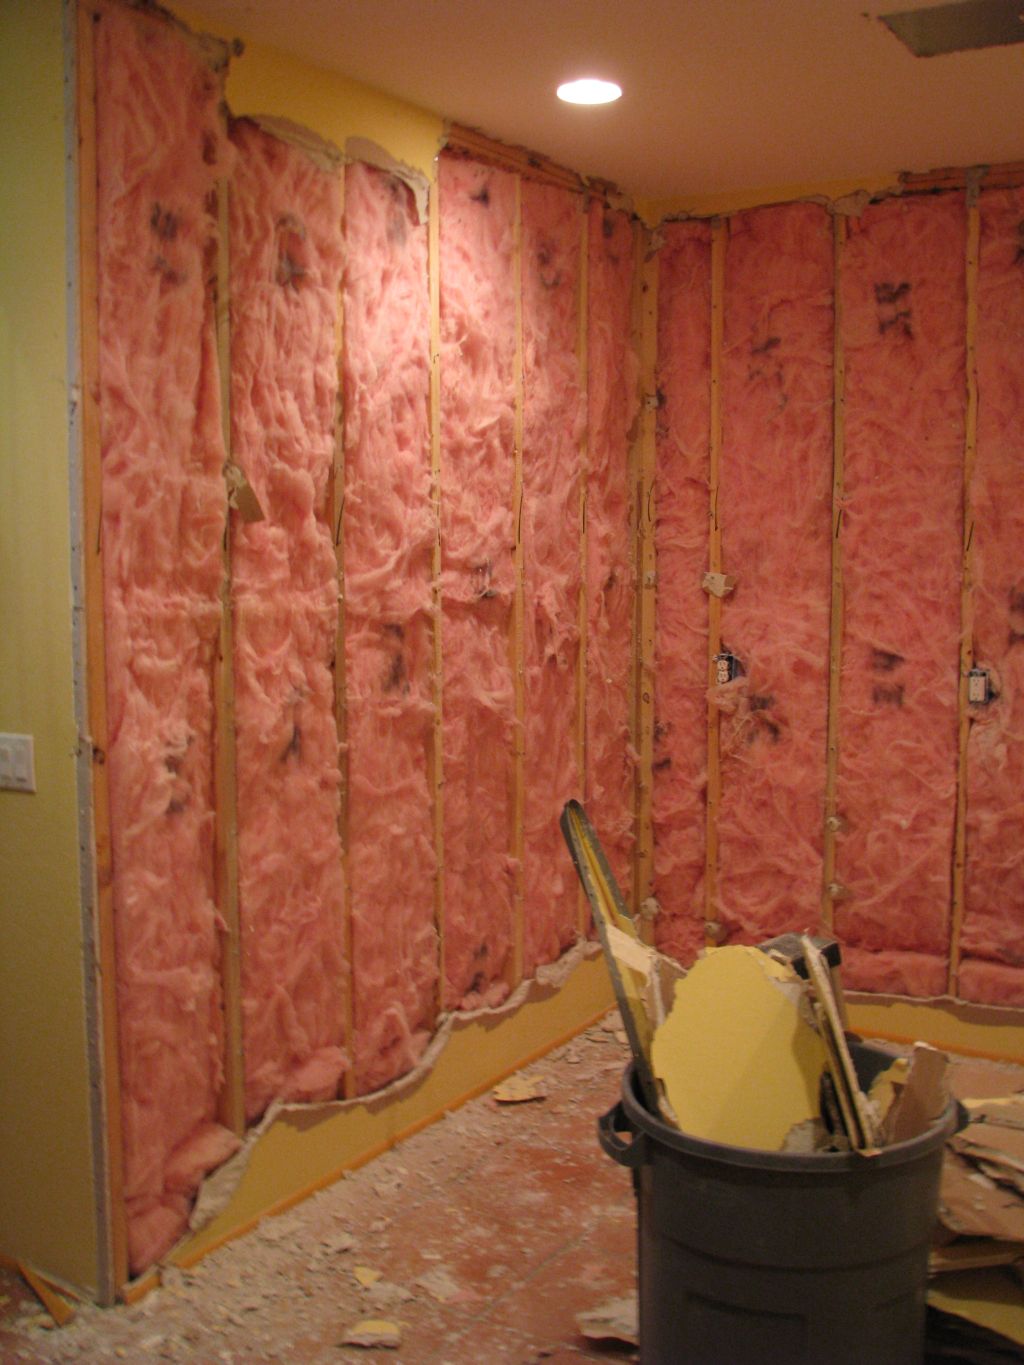
After safely removing the racks and supports that I had already installed and storing them in the basement light well, I tore out all of the drywall.
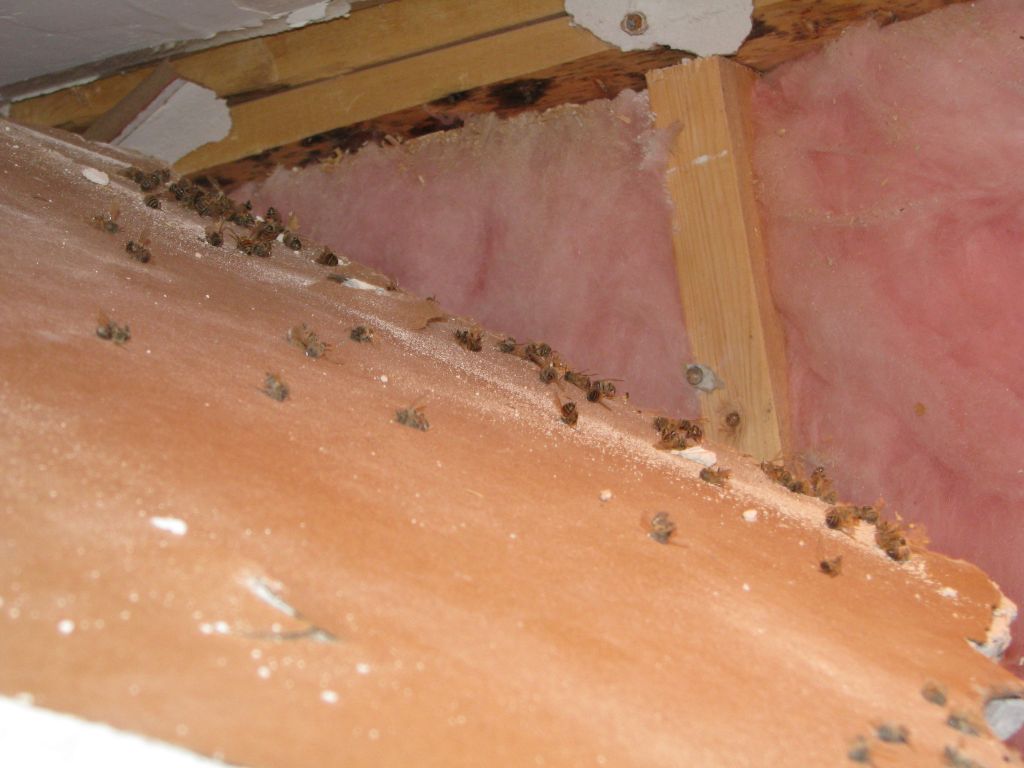
During this process, I made an interesting discovery: Bees. Thousands of them. Fortunately, they were all dead but they covered the top side of the ceiling drywall and were inside all of the walls. A couple of years ago, bees made a hive inside one of the exterior walls. I had an exterminator come out and kill the hive and seal the gap through which they came in but had forgotten about it until now.
April 2011
After demolition, I framed the entry wall and doorway. I built an opening above the doorway to accommodate the air conditioner.
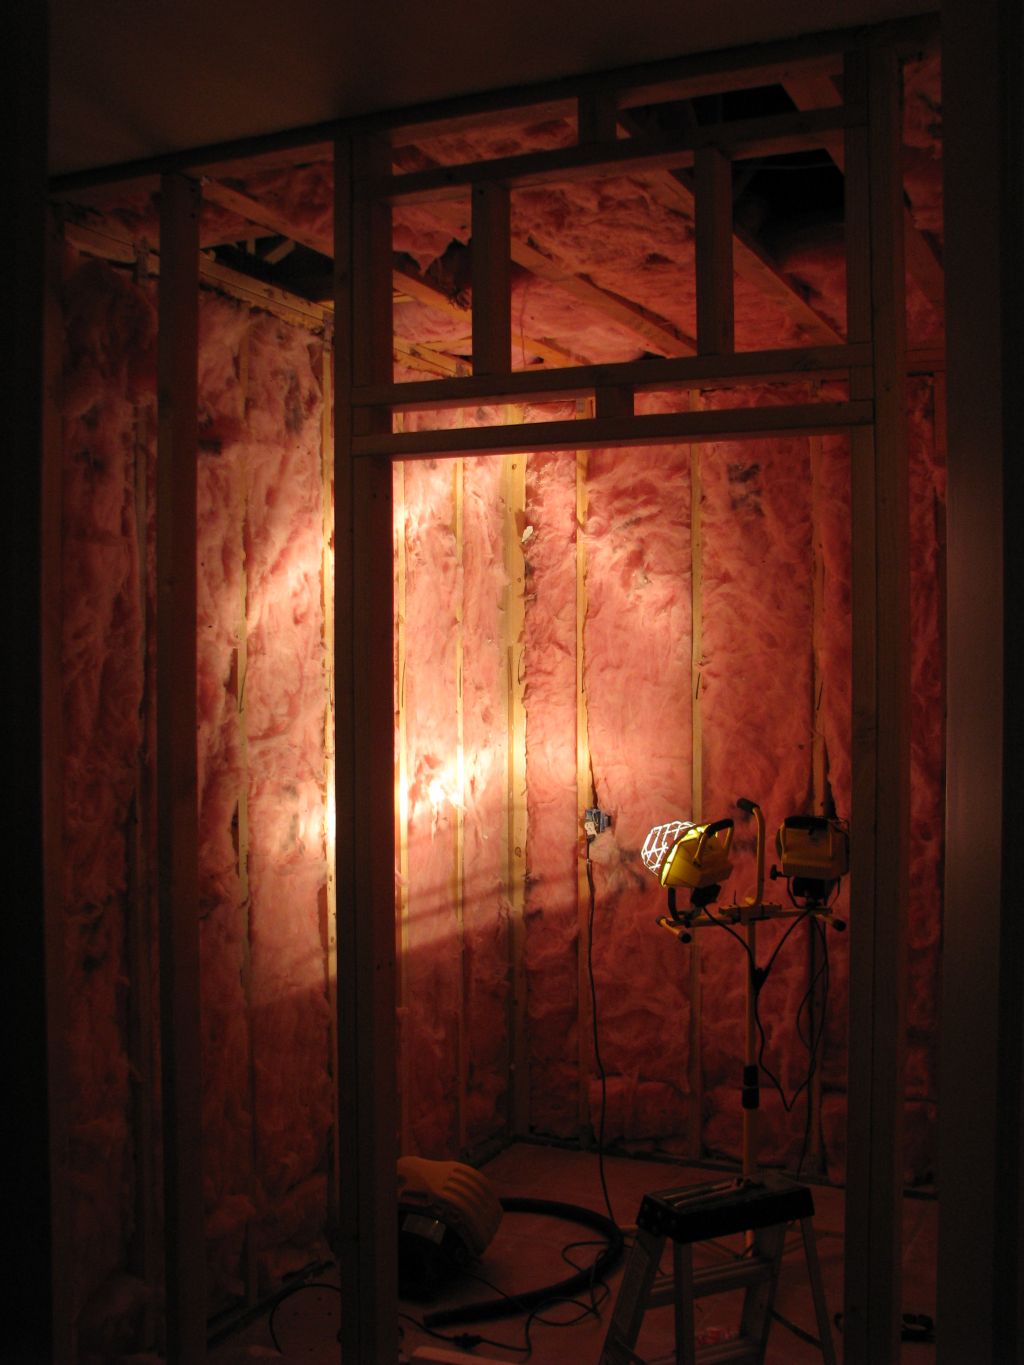
Once framing was done, I drywalled the outer entry wall wrapped the entire inside walls and ceiling with 6-mil plastic for the vapor barrier.
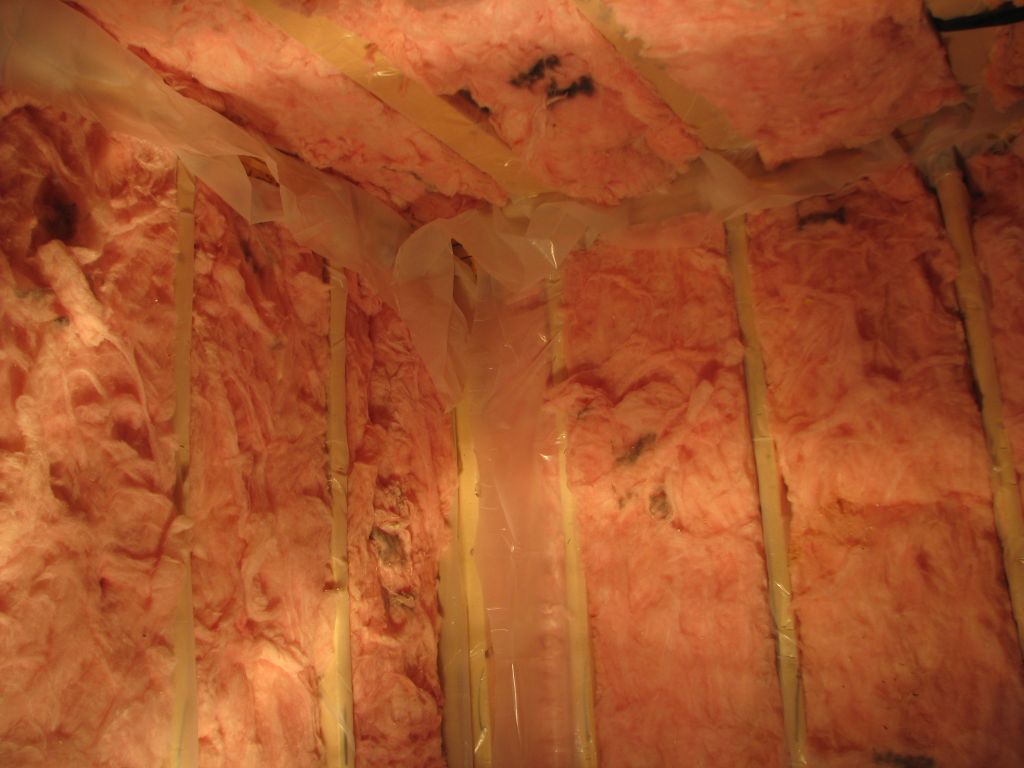
I used the insulation that was in the walls before (removing all of the bees first) but had to double the thickness of the ceiling insulation.
I also removed the can lights that were in the ceiling and relocated the air conditioning outlet to outside the rathskeller entryway, since the rathskeller would be getting its own AC unit.
The next step was installing the new drywall.
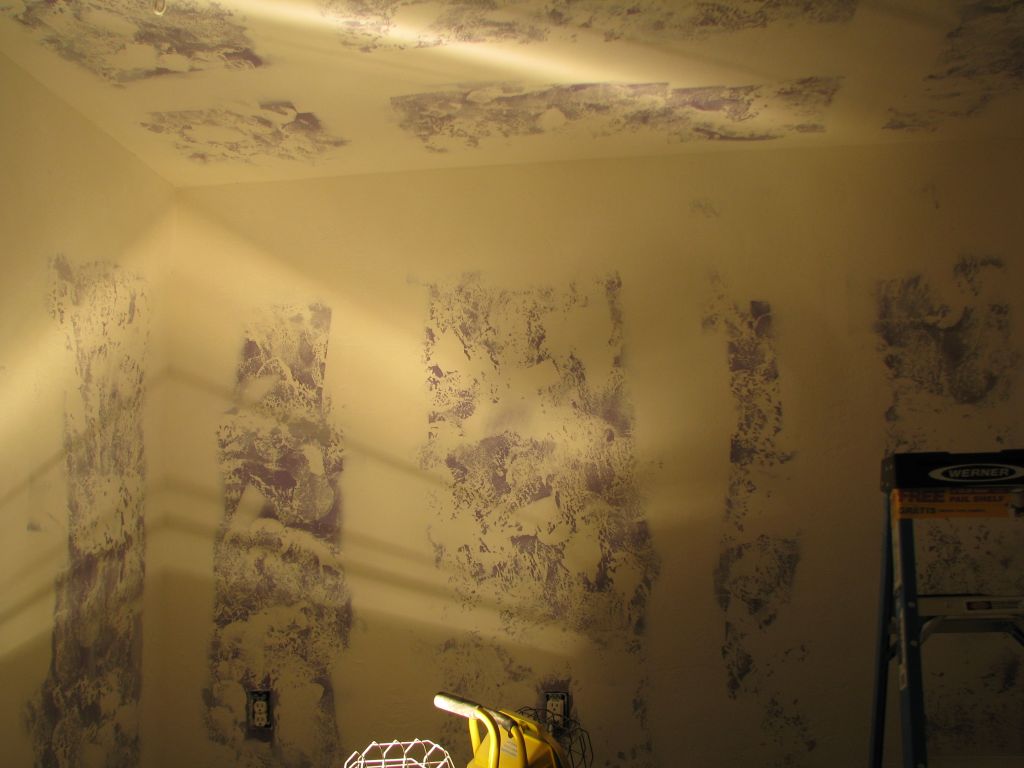
Taping, mudding, texturing, and painting took the longest because I was out of town for a few weeks in March and April and didn't have much free time to work on it.
May 2011
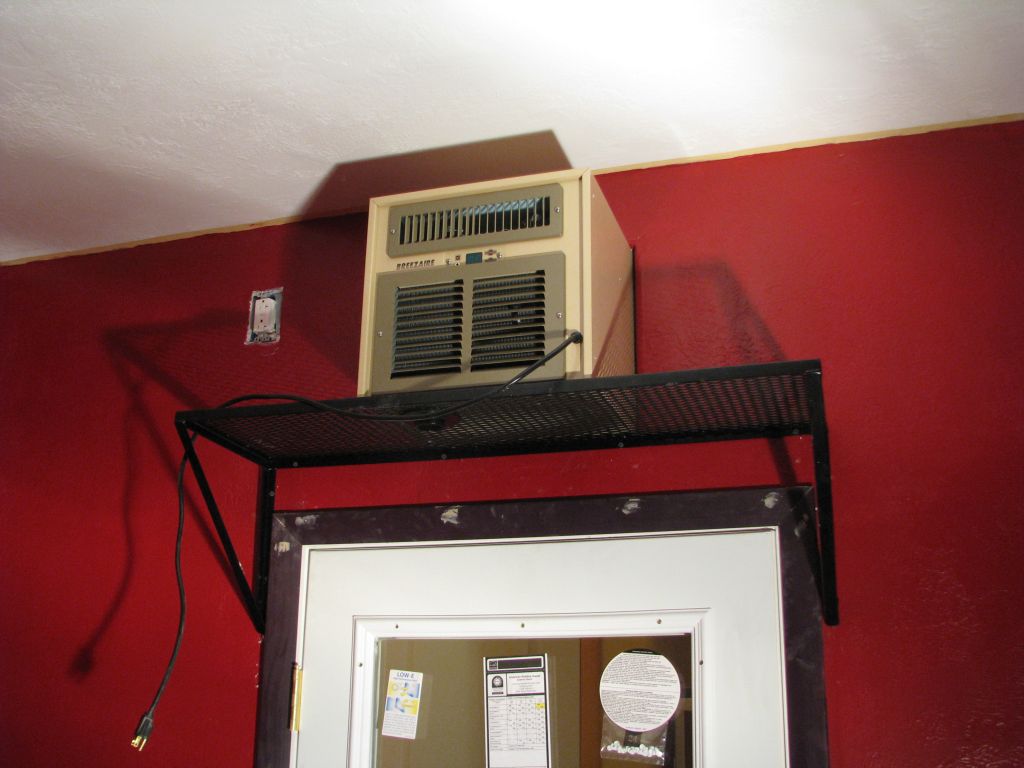
The AC unit that I acquired is specifically for wine cellars because in addition to keeping the space at 55 degrees, it also tries to maintain 50-75% humidity. I fabricated a steel shelf to support the AC unit. I welded a ring to the bottom of the shelf where the AC's drain plug is in order to access the drain hose.
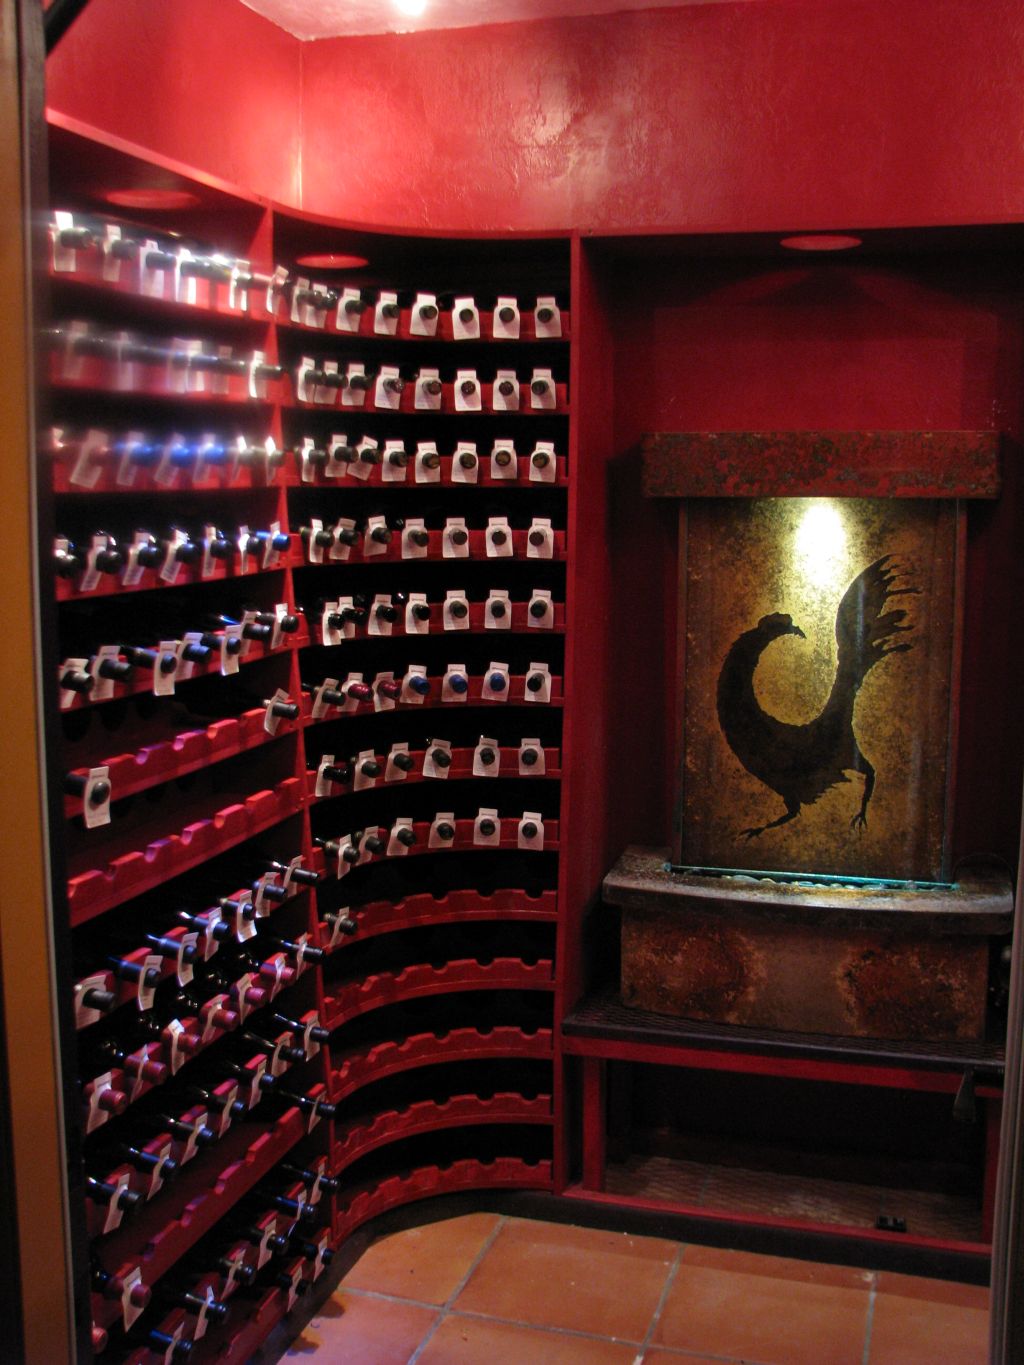
A view of the installed unit and shelf inside the rathskeller entryway. This is also the first glimpse of the color scheme, which is Heirloom Red (a dull crimson, which is the primary color used) and Rare Wine (a dark purple used for accents). The paint is an exterior, mold-resistant latex.
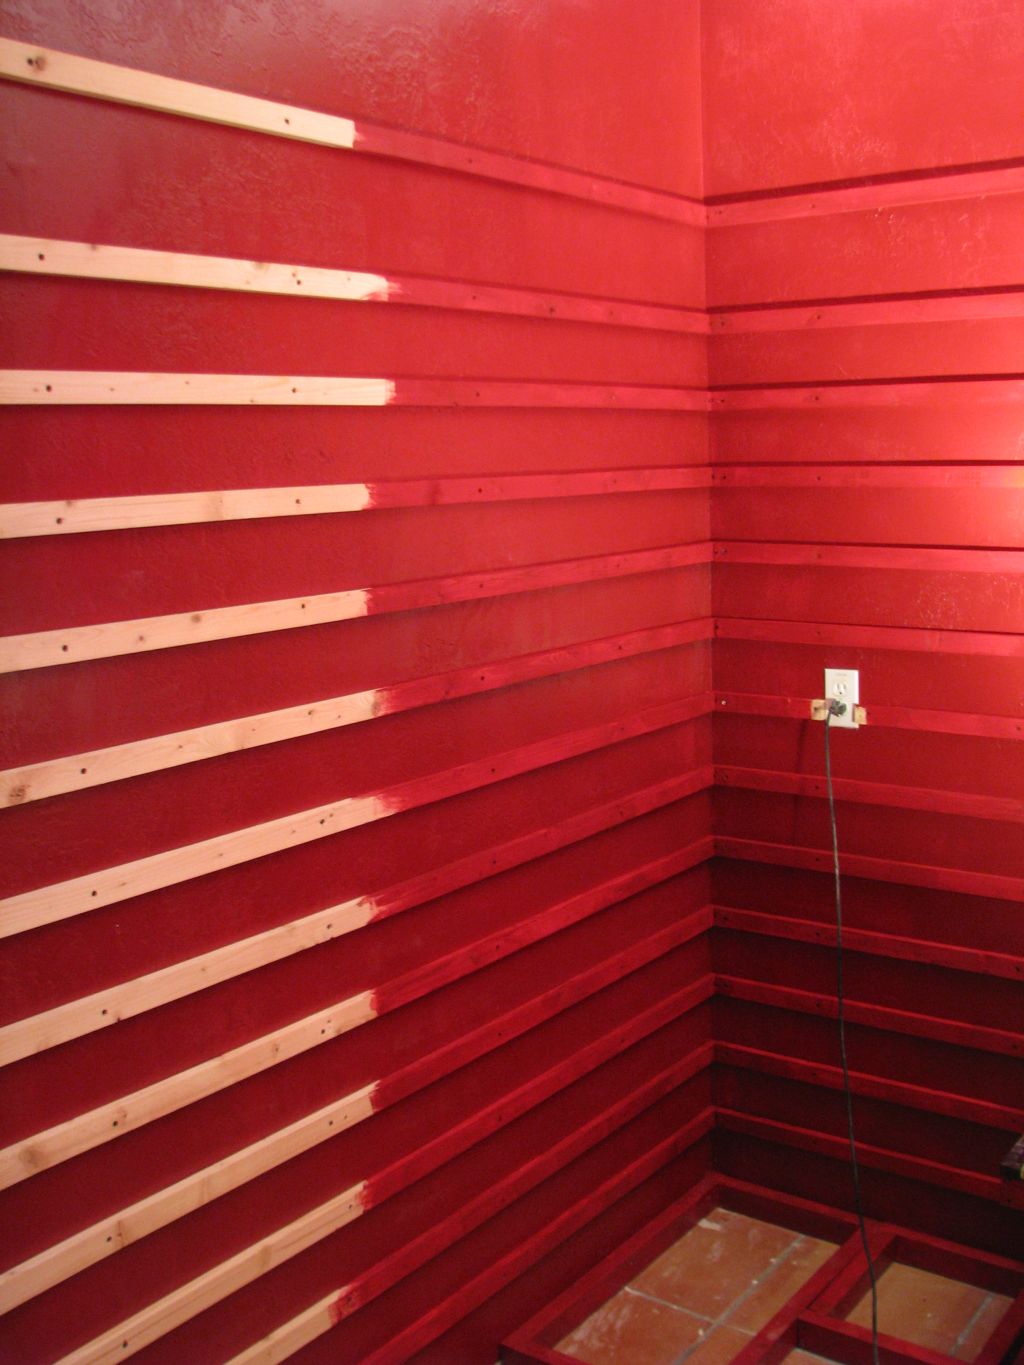
Finally, I resume where I left off before demolition. The support rails go back in but this time EVERYTHING gets painted. There can't be ANY exposed wood unless I want to risk mold growth.
Anya, my ever-present helper in the garage, supervises construction of the corner shelves.
Although I wanted to wait until all of the construction was completed, the fountain that we had built was done and the niche to accommodate it was ready. Greg Kinne came over and installed the completed fountain.
Finally the corner shelves are finished. There are a total of 26 shelves; 13 on each side, the total accommodating 172 bottles.
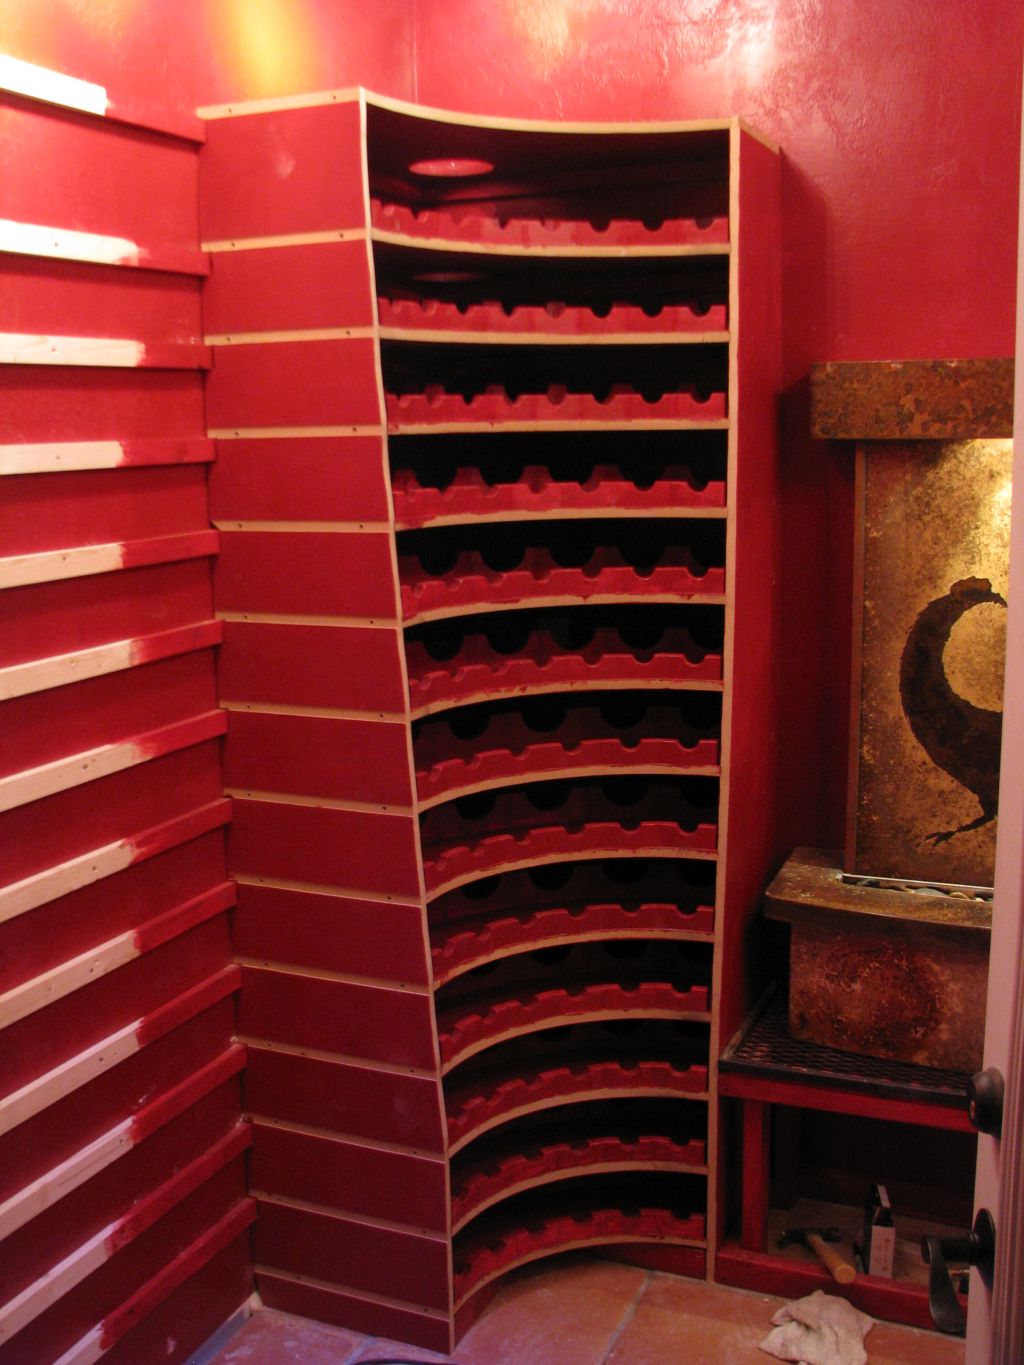
After the corner towers, I start construction on the straight runs. These are 13 rows of shelves, each accommodating 12 bottles.